
How To Add Video to WooCommerce Product Gallery
 Tired of struggling with your product descriptions? ProductWriter.ai can use your existing data and the
power of artificial intelligence to write high-quality product descriptions for you in seconds. Get started for free!
Multimedia is quickly becoming a big part of eCommerce. Adding videos to your website is one of the best ways to increase sales and make a strong visual impact. Many eCommerce websites have been adding videos to their WooCommerce product galleries to give potential customers a better idea of what they can expect from their products. Since this can be new to some eCommerce website owners, check out our step-by-step guide to help you easily add videos to your WooCommerce product gallery without writing a single line of code.
What Are the Benefits of Including Video in Your WooCommerce Product Gallery?
Video is an increasingly important part of online marketing. It’s not just about social media anymore; it’s being used more and more on websites to help sell products.
The benefits of adding video to a WooCommerce product page are numerous, but here are the top three:
- Engaged customers – Customers love videos because they help them understand the product in more detail. That can increase conversion rates and average order size.
- Increase average time spent on website – The average online shopper spends less than 15 seconds on most eCommerce sites. By adding video to your WooCommerce product pages, you can help increase the number of time shoppers spend on your site, which can translate into more sales.
- Helps in SEO – Video content is much more likely to rank well in search engines than static images, so it can improve your SEO performance and make it easier for potential customers to find you online.
Now that we know how important it is to have a video gallery on a single product page, let’s look at two ways you can add it to your WooCommerce website.
How To Add Videos to Your WooCommerce Product Gallery
The beauty of WordPress and WooCommerce is their flexibility. There are numerous ways one can implement the features they really want.
To add product videos to the WooCommerce gallery, we’ll use the Blocksy theme. It is a top-rated WordPress Gutenberg theme that comes with numerous features built into it. It not only offers various customization options but is also one of the fastest WordPress themes — an important factor to consider for WooCommerce websites.
You can read this in-depth review of the Blocksy theme to check how it stacks up against the competition.
1. Install the Blocksy Theme and Pro Companion Plugin
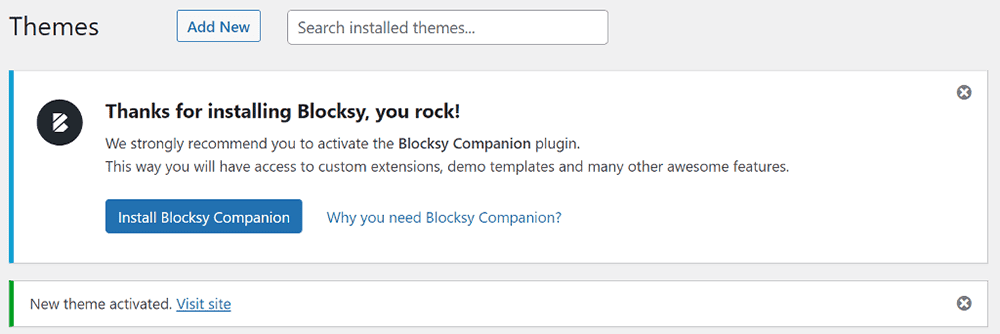
The Blocksy theme comes packed with features including the feature to add a WooCommerce product video gallery. From your WordPress dashboard, go to Theme > Add New and search for Blocksy. Install and activate the first result that you see.

Next, you’ll be prompted to install the companion plugin. Don’t install it as of now as we’ll be using the Blocksy Pro companion plugin to enable the product video gallery option.
Go to the Blocksy website and select one of the paid plans that best fits your needs. After that, you can download the companion plugin file and install it as a plugin on your website.

Next, navigate to Blocksy > Blocksy from your WordPress dashboard and then switch to the Extension tab followed by Pro Extensions.
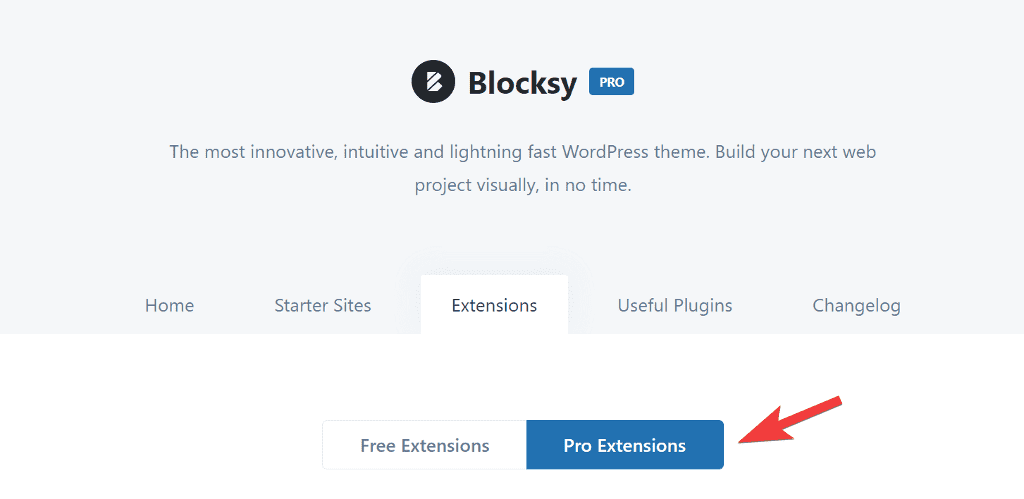
Scroll down to the bottom and enable the WooCommerce Extra extension.

After the theme setup is complete, let’s look at how to add a product video to the gallery.
2. Add Video to Product Gallery
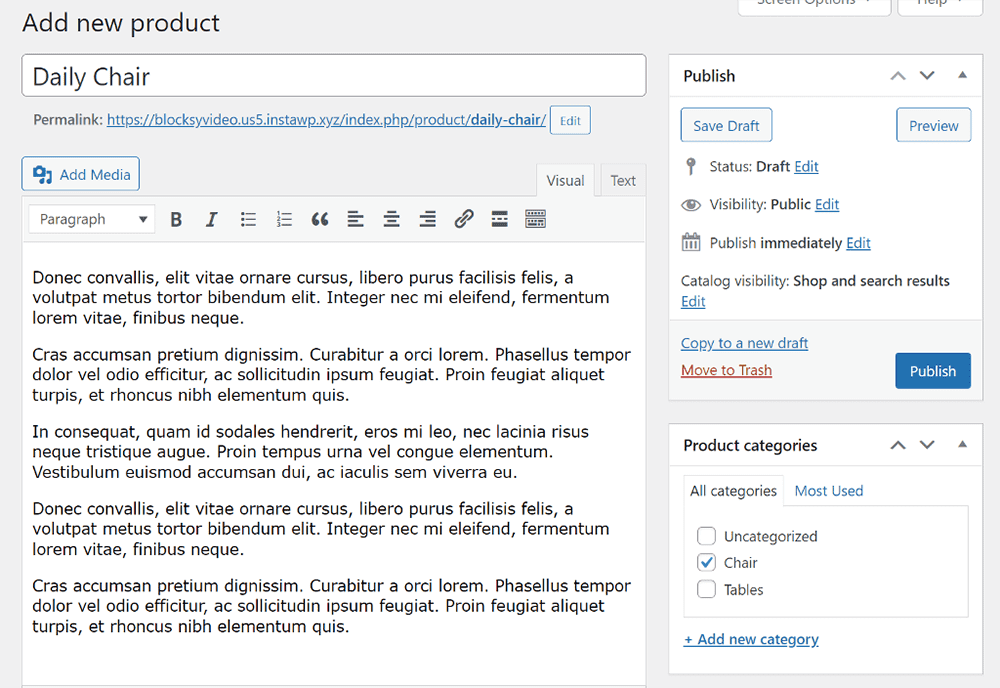
After you’ve configured the shop pages using WooCommerce shortcodes and customized your website with the Blocksy theme, navigate to Products > Add New and enter the product name, description, category, and tags as you normally would.
Next, add a featured product image and then proceed to add images to the product gallery. To include videos in the gallery, first select the images you want to include and then scroll down in the media library sidebar. There, you’ll see an option to attach a video to the gallery. You can either paste a link to an externally hosted video such as YouTube or Vimeo, or you can upload the video to your server.
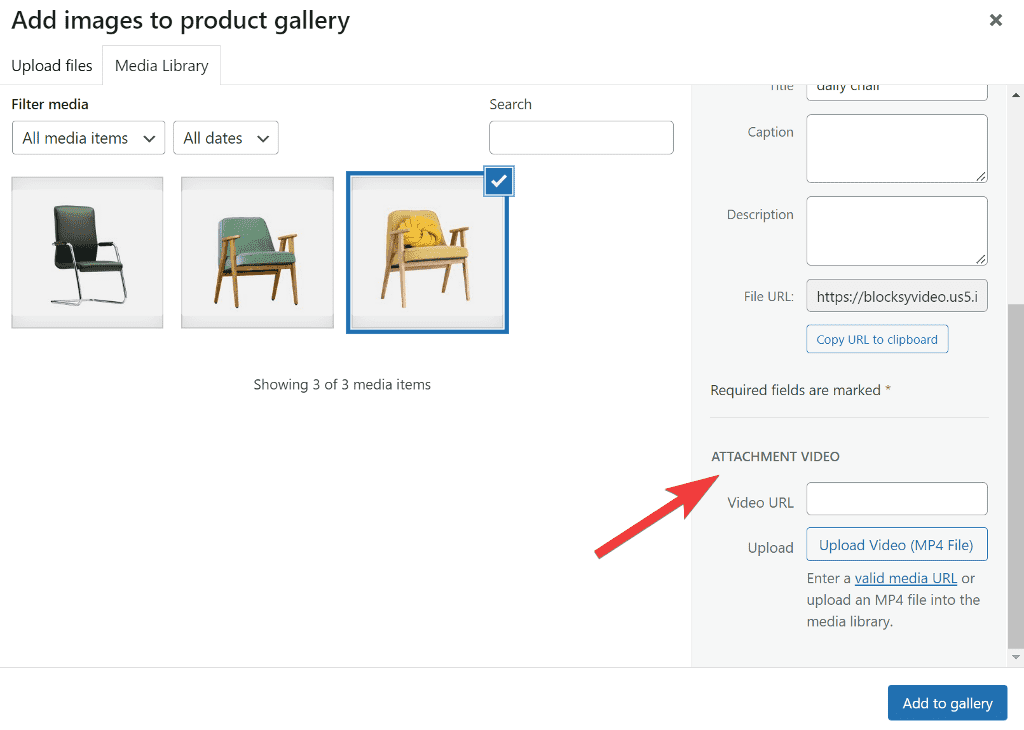
After you’ve added the link, click on the Add to galley button and then publish the product. When you go to the front end, you’ll see the video in the gallery with the thumbnail you uploaded.
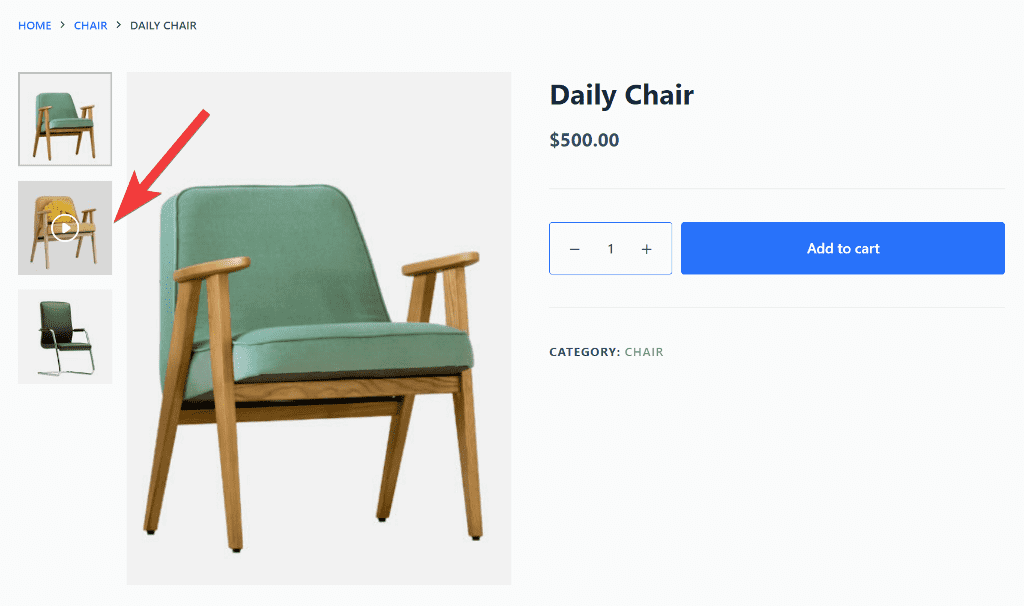
Now that we’ve added a video to the WooCommerce single product page gallery, let’s see how to add it to the product archive.
3. Add Video Gallery to Product Archive
To configure galley options for product archive, go to WordPress customizer and then scroll down to the Product Archives option. Open it, then go to Card Options and toggle the box for Video Thumbnails. As soon as you do, you’ll see the change is reflected in the product archive page in the customizer.
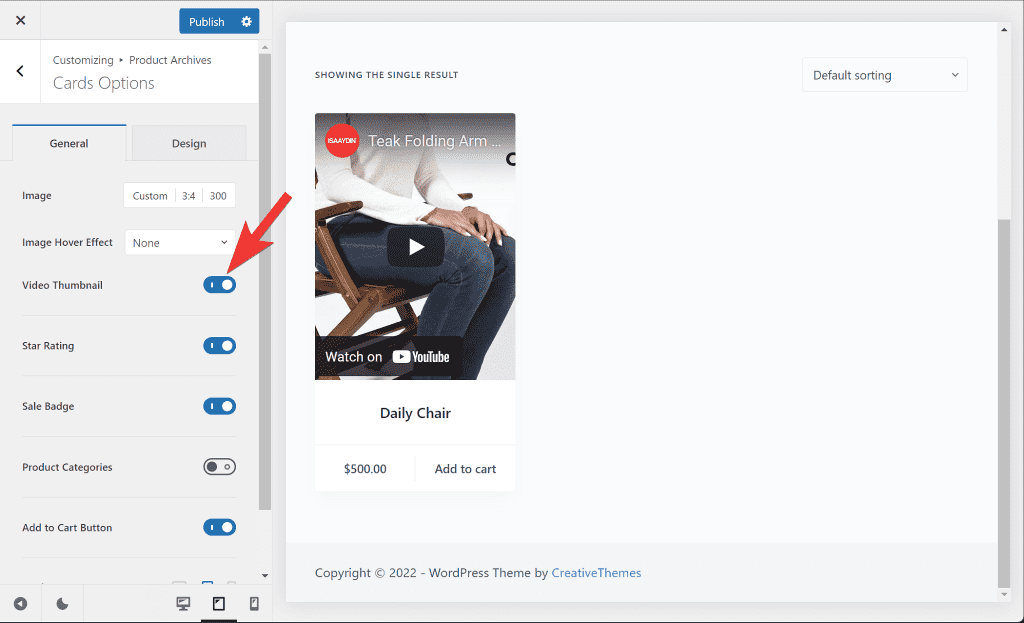
To save the changes on the front end, don’t forget to hit the Publish button.
Conclusion
That’s it for this short tutorial! WooCommerce is a powerful plugin that lets you sell any kind of product, be it physical or digital. It comes with a wide range of features that not every store requires. Of course, this makes WooCommerce bloated and you may want to remove features to make it less overwhelming.
This is where the tutorials and plugins on our site come in handy. Find out how you can write your own code, or use one of our plugins, to change your site. Our list of articles and plugins is regularly expanding so you can find the right way to make specific adjustments to WooCommerce.