
How to Remove WooCommerce SKU
SKUs, or stock-keeping units, are a way for a store to identify its products and all their associated attributes with one easy-to-use number or term. Support for SKUs is part of WooCommerce by default. You can find the field for them in the product editing screen under the “Inventory” tab.

SKUs are very important for stores that deal with a lot of products and inventory variations. They are key in recommendation/suggestion systems for online retailers. At a more basic level, they play a vital role in inventory management and tracking.
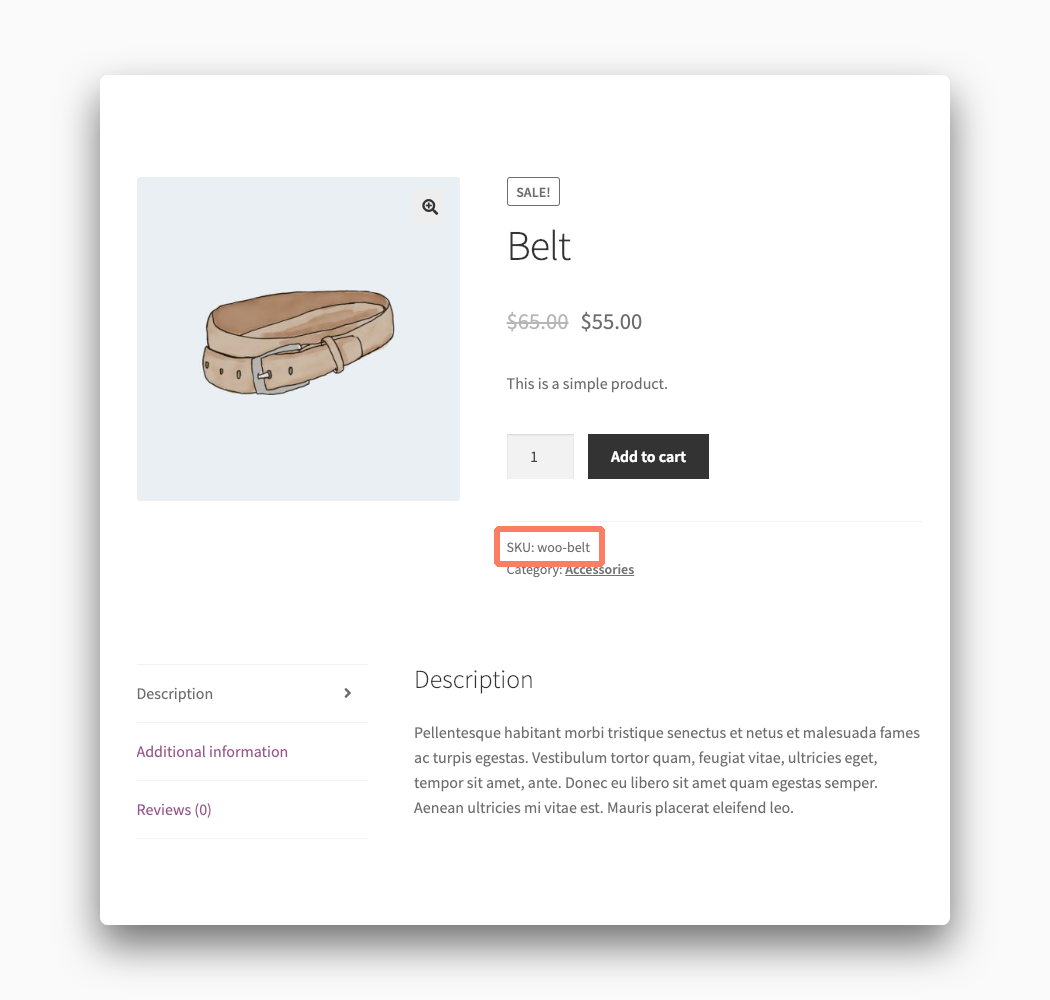
So SKUs are great but what’s not so great is that many WooCommerce themes, including the very popular Storefront, show them by default on the product pages of your site.
Typically, your customers don’t really care about the product SKU and this information is just cluttering up your buying process. You can remove the SKU field entirely from your WooCommerce store if you aren’t afraid to get your handles a little dirty in some code (or want to pay a developer to take care of this for you).
How to Hide SKUs from WooCommerce with Code
Hiding the SKUs from your WooCommerce product pages is something you can do yourself. Keep in mind this process is technical in nature and not for everyone. There are some risks involved in going this route. It helps to have a WordPress development background.
WARNING! The first thing you need to do is make a backup of your site. Making a mistake in the following steps means your WordPress theme will need to be restored. Make your code changes locally and never on a live site. Upload the changes to your site’s server using FTP when you are ready.
Create a Child Theme
No one should make changes directly to a WordPress theme. All of your changes will be overwritten the next time the theme updates. Luckily, WordPress has a solution for this called child themes. Creating and setting up a child theme isn’t a very complicated process. You can learn more about it on the official WordPress site.
Add Code to the Child Theme
It’s time to get your hands dirty with a little bit of PHP programming. First, create a functions.php file in your child theme’s directory. Second, open that file up and add the following lines of code at the bottom.
add_filter( 'wc_product_sku_enabled', 'my_remove_sku', 10 );
function my_remove_sku( $return, $product ) {
if ( !is_admin() && is_product() ) {
return false;
} else {
return true;
}
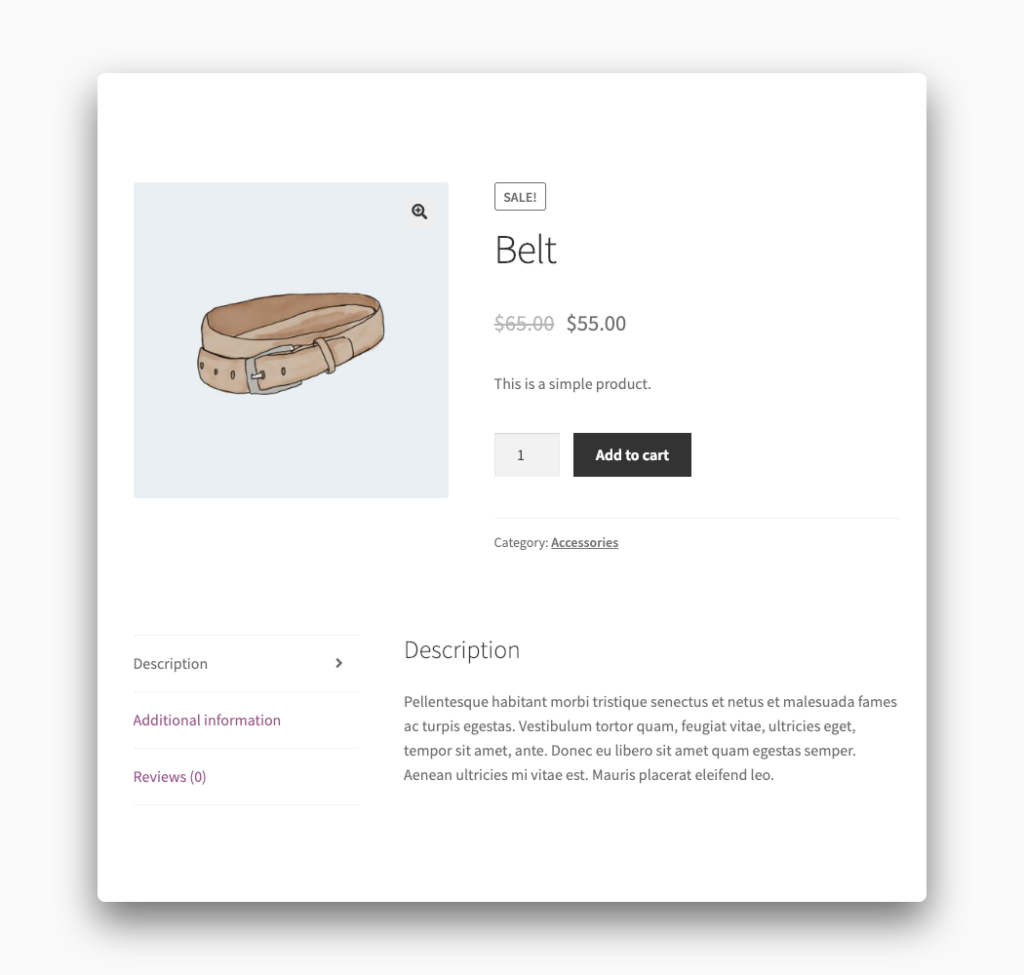
}Finally, save the functions.php file. The code you added is going to remove the SKU display on your product pages. Importantly, it will still keep the field on the admin side of WooCommerce. Beware that many other tutorials online have code that will remove SKUs from WooCommerce entirely, front and admin, and that might not be what you need.
Upload Your Child Theme
Unfortunately, we aren’t done yet.
Now that your child theme is ready, with our code changes, you need to upload it to your web host. FTP is the most common method for doing this and there are dozens of free FTP clients available. Uploading files isn’t for everyone so you might want to consider hiring help for this. Your store’s web host might be able to offer a hand as well through their support staff.
Activate Your Child Theme
The time has come to test out your code. The WordPress admin has a menu option called Appearance. Click on the submenu option called Theme to find your child theme. If you did everything correctly you should be able to select your theme and be good to go.
You’ll know there is a coding problem if the child theme doesn’t appear or your store begins to throw errors or doesn’t load. When that happens review the code and check that you uploaded all of the files correctly.
You did it! You have become a WordPress developer.