How to Remove the WooCommerce Product Image Slider
 Tired of struggling with your product descriptions? ProductWriter.ai can use your existing data and the
power of artificial intelligence to write high-quality product descriptions for you in seconds. Get started for free!
WooCommerce wants your customers to have the best user experience possible and it tries to do this the best it can out of the box without any modifications. The idea is that you can use the WooCommerce platform to get an online store up and running quickly and with little fuss.
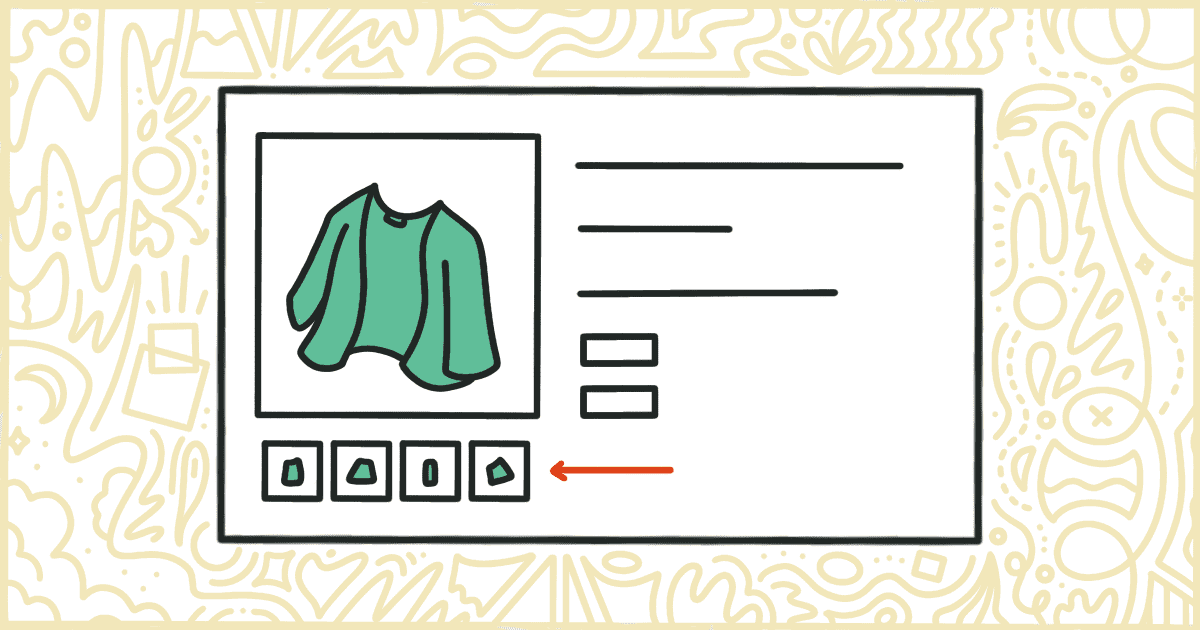
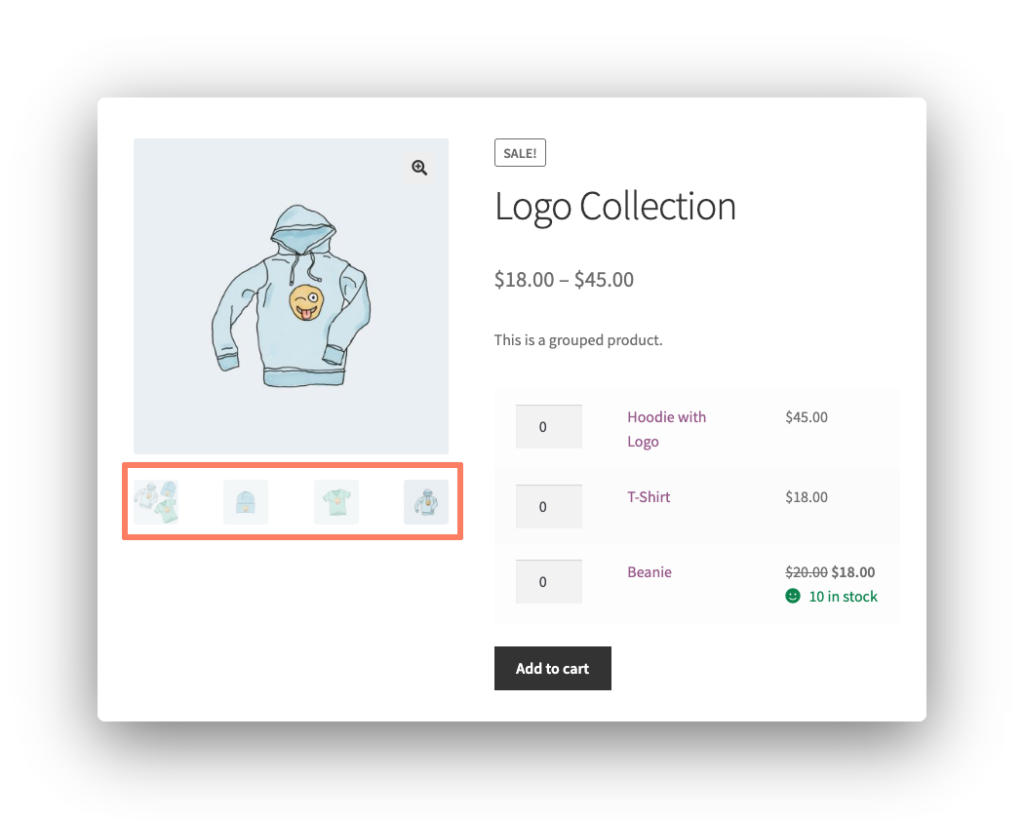
Of course, what WooCommerce thinks is important isn’t always in line with what you want to see on your store. A popular example of a default interface that WooCommerce likes to include by default, and is commonly used by many third-party themes, is including a slider style of navigation when a product has multiple photos or images attached to it.
The idea is to make it easier for your customers to be able to see all angles and options of the product they are about to purchase. Unfortunately, not all themes handle this the same way so it’s occasionally worth removing from your product pages entirely.
There is no way to handle this removal inside of WooCommerce itself. For changes like this, one option is to write some code to handle the removal for you. We’ll spend the rest of this article going through the steps to make that happen. In the end, we’ll also highlight how you can purchase our plugin as an easier alternative for less technical users.
How to Hide the WooCommerce Product Image Slider with Code
In order to hide the WooCommerce product image slider, you will need to add some code to your site. There is a particular way to do this that ensures your current theme stays functional. We’re going to walk you through that process now.
Alert! Before you go any deeper into this tutorial please make a complete backup of your WordPress installation. In case you run into any issues that break your site you will want to have a working backup to restore from. Downtime for an online store will cost you money so it’s not worth the risk to be unprepared.
Make a Child Theme
In WordPress terms, a child theme is a way to modify another theme (called the parent) without running the risk of losing your changes. When a theme receives updates all of the files you might have modified are overwritten. When you use a child theme, your changes in the child theme persist no matter how often the parent theme receives updates.
You can learn more about creating a WordPress child theme using one of the many tutorials you can find online. When your child theme is made it’s time to head to the next step and get your hands dirty with some PHP code.
Add Code to a Child Theme
When your child theme is made you are ready to insert some code to remove the product image slider. You’ll want to add the code to a file called functions.php. Create that file, if it doesn’t already exist, and then open it up in any standard text editor.
Insert the following lines of code into your functions.php file.
add_action('init', 'my_remove_product_image_slider');
public function my_remove_product_image_slider() {
    remove_theme_support('wc-product-gallery-slider');
}
Keep in mind this is going to be a global change. Every product on your site with an image slider is going to have that slider removed with this code. There is no discrete setting in this code snippet to only selectively remove the slider from individual products or categories.
Save the file when you are done. Now it’s time to package your child theme up and get it running on your live WooCommerce site.
Not interested in writing code or making themes? There is an easier way to take care of these product image sliders. You don’t have to make a child theme, write any code, or worry about anything else in this tutorial. Learn how our plugin can save you tons of time.
Upload the Child Theme
Now you need to get your child theme upon your website’s server. The first step is to compress the child theme’s folder into a .zip file. That will be the file you actually upload when you access the Themes section of the WordPress admin. The Themes are, located under the Appearance menu option, will have an “Add New” button. Clicking that button will get you on the road to upload; just complete the steps.
An alternative, for the braver of you reading this article, is to upload your child theme straight to the server with FTP. We recommend consulting your hosting provider’s documentation or support system to get instructions on how to log in to your server via FTP.
Activate the Child Theme
You’re almost done.
You should see your child theme on the list of WordPress themes your site has installed now. If you don’t see it when you go to Themes then try and upload it again. When it does appear press the “Activate” button to turn your child theme on.
If all goes well, the product image sliders should be gone immediately. When they are still there, or your entire site is down, there is an issue with your child theme’s code. Go back and double-check and make any changes. You’ll have to upload and activate the child theme each time you make an adjustment.
Eventually, you will get there and be done. Of course, there is a much easier and faster way to handle this problem. We’ll close this post out telling you how you can get the same results without any technical steps using our plugin.
Disable the WooCommerce Product Image Slider the Easy Way
We have built and are selling a simple plugin that lets you remove the WooCommerce product image slider from your store. This plugin has some extra features that make it even more useful and practical than the code snippet we discussed above.
You can use our plugin to remove the product image slider from:
- All Products
- Products in Specific Categories
- Specific Products
Purchasing and installing our plugin takes only a few moments. You won’t have to worry about writing any code. There’s no need to build and upload your own child theme. The plugin makes this all quick and pain-free. Never installed a plugin before? Don’t worry. We will email you a set of step-by-step instructions to install and activate the plugin after purchase.
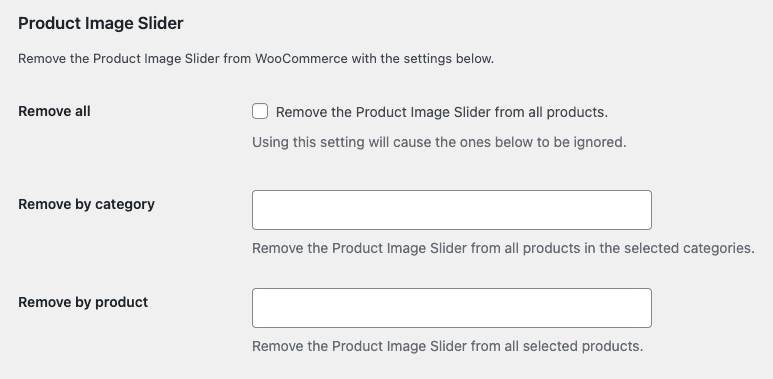
After installation, you’ll find a Remove Features tab in the WooCommerce settings screen. This is where you dictate which products or categories have the image slider removed.

There’s nothing else to do. Our plugin gives you absolute control over the use of image sliders on your WooCommerce store. Either check a single box or enter the names of the products and categories you want to change.
When you purchase our plugin you get:
- 90 days of support. Get help with your plugin up to three months after purchase.
- No license keys or yearly subscriptions. Pay $14 once.
- Unlimited installations. Install the plugin on as many sites as you want.
We offer a 14-day money-back guarantee. Get a full refund if you are unhappy with our plugin or if it doesn’t meet your expectations.
