
How to Setup the Mollie WooCommerce Plugin
Mollie is a Dutch company that offers a wide range of payment and shipping services. The platform is mostly used for e-commerce, where the customers can make their payments through Mollie. The company was founded in 2005 and ever since it has been one of the most popular online payment providers in Europe. The main goal of Mollie is to make online shopping easier and more convenient for the customers. Today, we’re going to go over the Mollie WooCommerce plugin and detail its features and how easy it is to set up with your online store.
You can use the Mollie WooCommerce plugin to accept online or app payments using Mollie. This gives your customers the ability to pay with a wide host of payment options, in addition to major credit cards, including the following:
- Apple Pay
- PayPal
- Klarna
- iDEAL
- Bancontact
- SOFORT Banking
- EPS
Mollie supports a lot of other payment options as well. It’s a very versatile service perfect for giving your WooCommerce site extra flexibility in taking payments from your customers.
Download and Install the Mollie WooCommerce Plugin
You can download the Mollie Payments for WooCommerce plugin directly from WordPress.org or inside of your WordPress installation. Installing it inside of the WordPress admin is the easiest if you are not very technical. Simply go to Plugins in the WordPress menu and then select the Add New option. On the following screen, type “Mollie” in the search box, and the plugin will display a few seconds later:
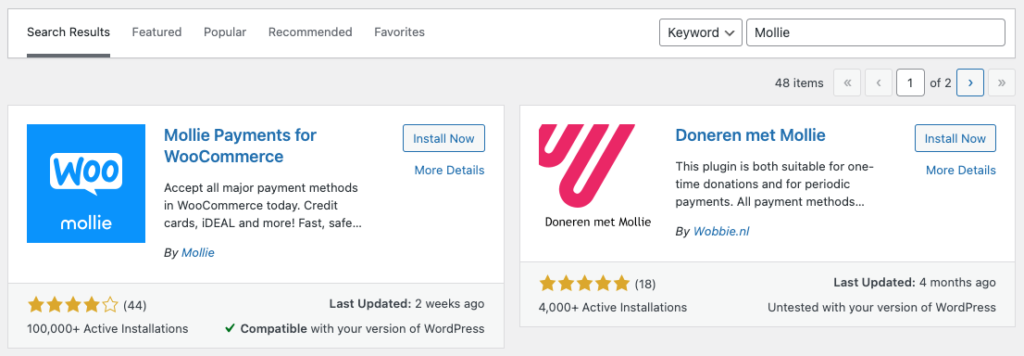
Click the Install Now button and then the Activate button after that. Now you are done downloading and installing the plugin. It’s time to do some setup next to make it work on your site.
Setting Up the Mollie WooCommerce Plugin
You can find all of the settings for the Mollie for WooCommerce plugin under the WooCommerce area of the admin. Specifically, go to WooCommerce and then click on the Settings option. You’ll find a tab called Mollie Settings which is where you want to go to get everything up and running.
First, you’re going to need to tell the Mollie WooCommerce plugin what your API key is. You can find your Mollie API key by visiting the Mollie dashboard and looking under the Developers area. When you have found your key, copy and paste it into the Live API Key box inside of the plugin and then press the Save changes button.

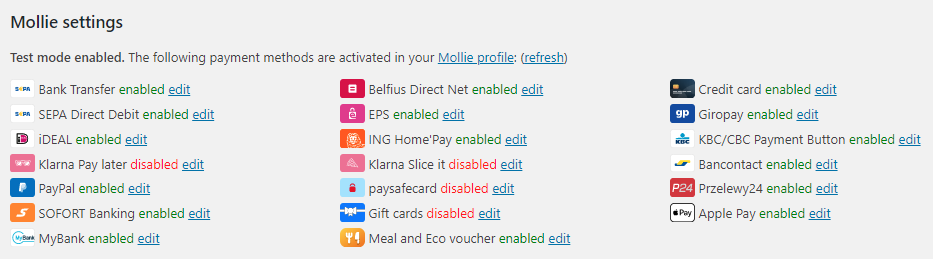
With your API key saved, you should begin to see your payment options listed at the top of the settings screen. You can refresh the list of all of your payment methods that aren’t properly enabled. You can also enable to disable individual payment options from within this settings screen as well.
That’s all there is to it, really. You will now have your WooCommerce store and your Mollie account connected. Your chosen payment methods will not be available to all of the customers visiting your site.
Do You Need Support for the Mollie WooCommerce plugin?
Mollie offers email-based support for all users who are having problems with the Mollie for WooCommerce plugin. You will need to contact them at info@mollie.com with your Mollie Partner ID and a thorough description of your problem. It will also be helpful if you submit your debug log with any help request. The settings screen, inside of WooCommerce, will tell you exactly where your debug log files are stored on your server.