How to Remove WooCommerce Stock Messages
WooCommerce has pretty decent inventory control capabilities baked right into the base plugin. You can turn these on for each product in your store using the “Inventory” tab of the Product editing screen inside of the WordPress admin.
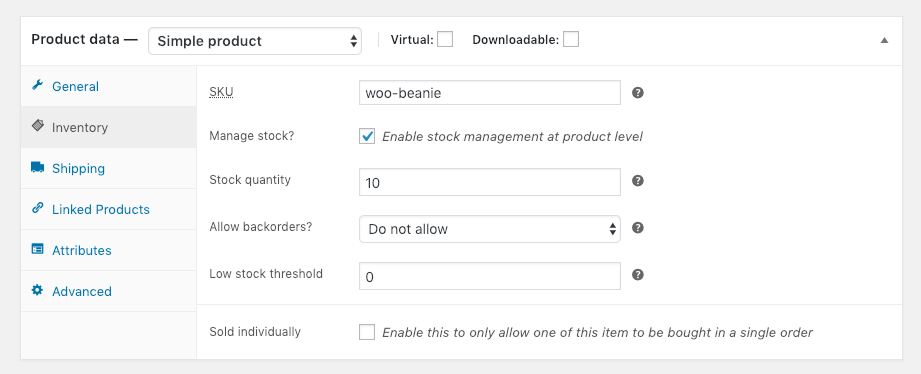
There are all sorts of useful things possible with this tab. Set the amount of a product you currently have in stock. Decide whether or not to allow an out-of-stock product to be back-ordered. Or even tell WooCommerce to email you directly when a stock amount on an item reaches a certain level.
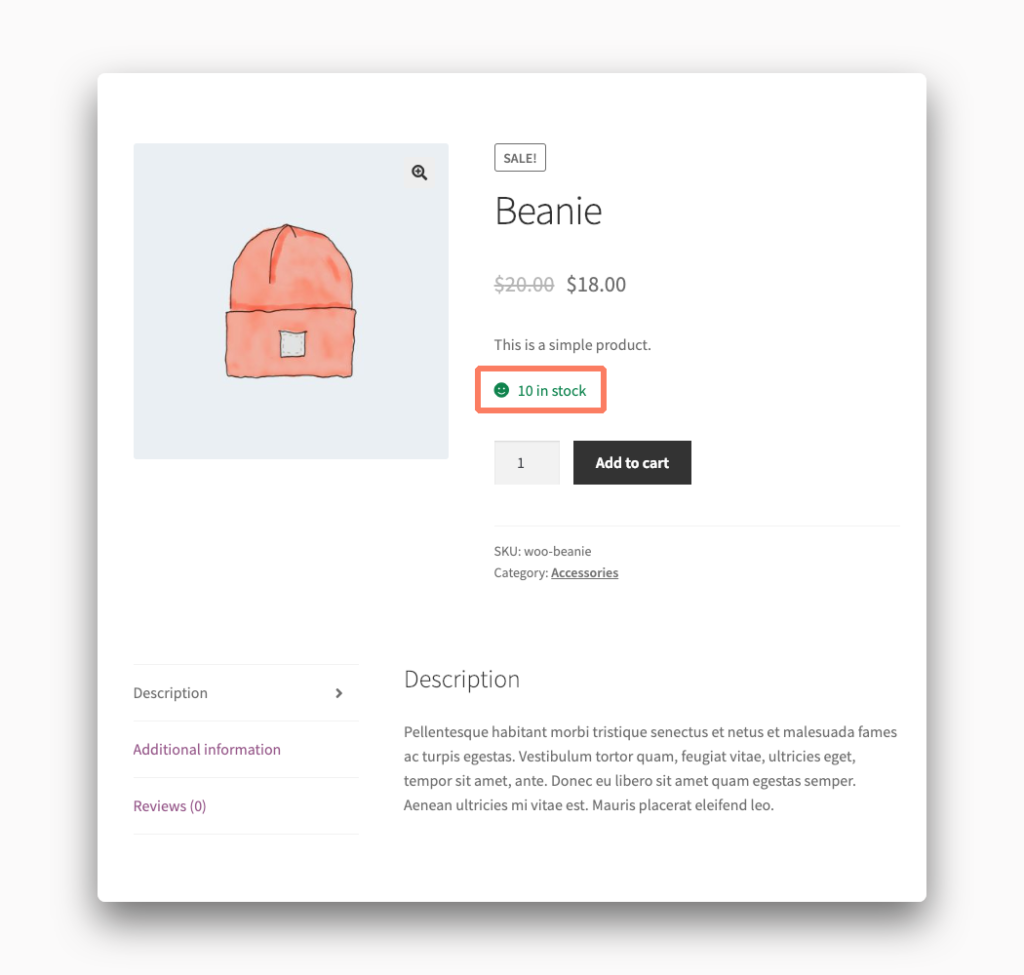
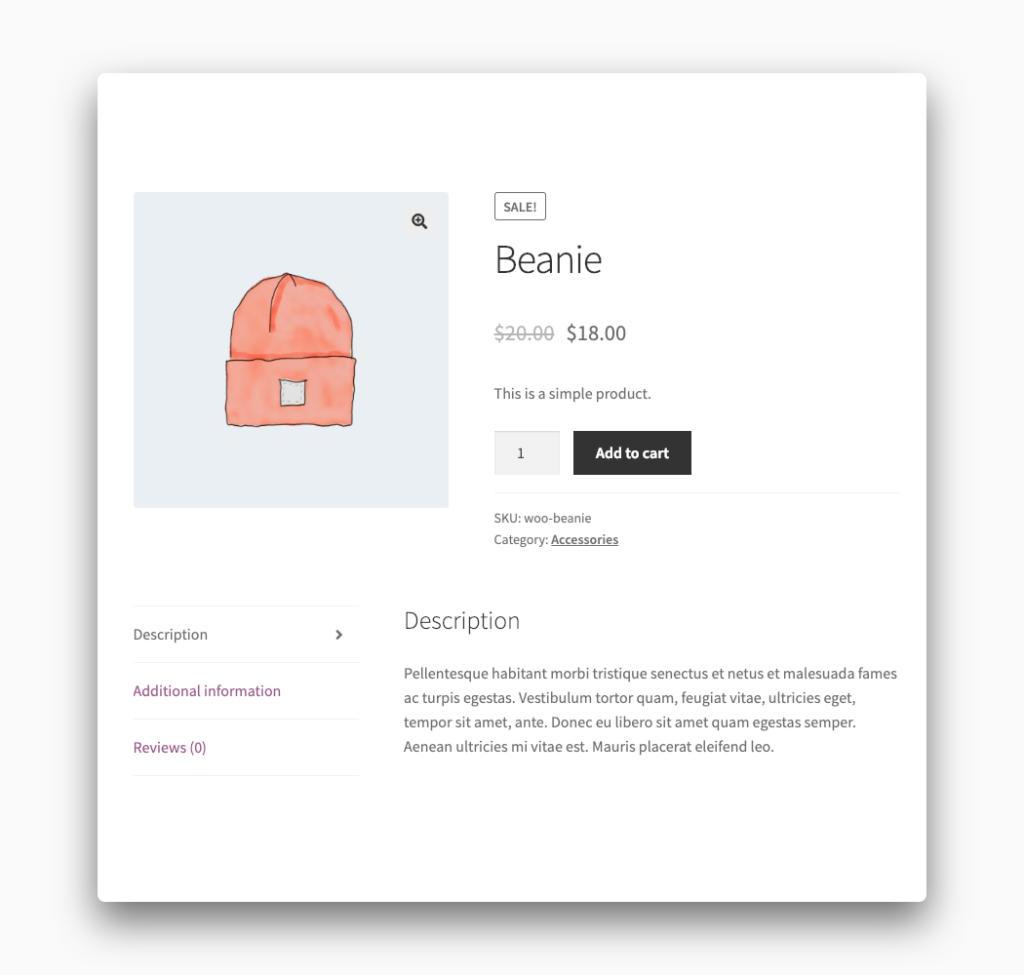
One of the default settings, once you’ve checked the “Manage stock?” box on a product, is to add stock messages to each product’s page on your store.
This is a really useful way to inform potential customers how many of the product they are interested in is available but you don’t always want to broadcast to the public your inventory levels.
If you want to remove these stock messages from your store you’re going to have to make some changes to your WordPress theme.
This tutorial discusses removing the stock messages from your site’s theme. It won’t have any impact on the stock notification emails WooCommerce sends out. For more information about those, please check out our guide on the site for more help.
How to Hide WooCommerce Stock Messages with Code
You can get rid of stock messages on your products with some code-related changes to your WordPress theme. We’ll walk you through what’s involved to get your site layout changed.
Alert! Before you get started please make a complete backup of your WooCommerce store. This includes the site’s theme and its database as well (just to be safe). If anything goes wrong with your code changes you are going to need to be able to revert back to how things were to keep your site up and running.
Create a Child Theme
We’re going to get started by making a child theme. In WordPress terms, a child theme inherits the features of its parent theme but allows you to still make modifications safely. The reason you do things this way is to prevent your changes from being lost. When you edit a parent theme directly your changes are lost during the next theme update. With a child theme, your changes will persist throughout any parent theme updates in the future.
You can learn how to build a child theme yourself using this great tutorial at Smashing Magazine. Once you have your theme made it is time to bust out a text editor and write some code.
Add Code to the Child Theme
Every WordPress theme has a file called functions.php and your child theme should be no different. Create the file and open it up in a text editor. Then add the following lines of code to the file and save it.
add_filter( 'woocommerce_get_stock_html', 'my_remove_stock_messages', 10, 2 );
function my_remove_stock_messages( $html, $product ) {
    return '';
}
This chunk of code will remove the stock message from every product on your site. This is a global change. You can write code that will only remove stock messages from certain products or categories. Unfortunately, that’s much more involved. You should consult the WooCommerce documentation to learn more.
You’re about halfway through. Save your functions.php file before going any further. The next step is probably the most alien to non-technical people so be warned.
Upload the Child Theme
There are two ways to take your finished child theme and upload it to your server. You can use something called FTP. This requires a separate application and connection details provided by your host. If you have trouble with this your hosting provider’s support staff might be able to help.
You can also upload a WordPress theme from within the admin itself. Go to the Appearance section of the admin menu. Under Themes you will find an “Add New” button that will lead you to upload your theme. Make sure the theme is in a compressed .zip file first.
Activate the Child Theme
This is the final step. After you have successfully uploaded your child theme it should appear under the Appearance tab. Activate the theme and, if all has gone well, the stock messages should have vanished from your WooCommerce site.
If the stock messages are still there or your site has totally collapsed with errors you need to deactivate the child theme. There is most likely an issue with the upload or the code changes you made in the functions.php file. Try and figure out the issue, save the corrections, and then upload again.
Eventually, you will get it all right and your site will be functioning how you want it. Congratulations! You’re now something of a WordPress developer.