How to Remove the WooCommerce Sidebar
Plenty of WooCommerce themes follow the standard conventions found in regular WordPress designs and sites. This means things like sidebars are included with many WooCommerce designs and often they aren’t necessary or wanted. You can learn how to remove a WooCommerce sidebar in this post.
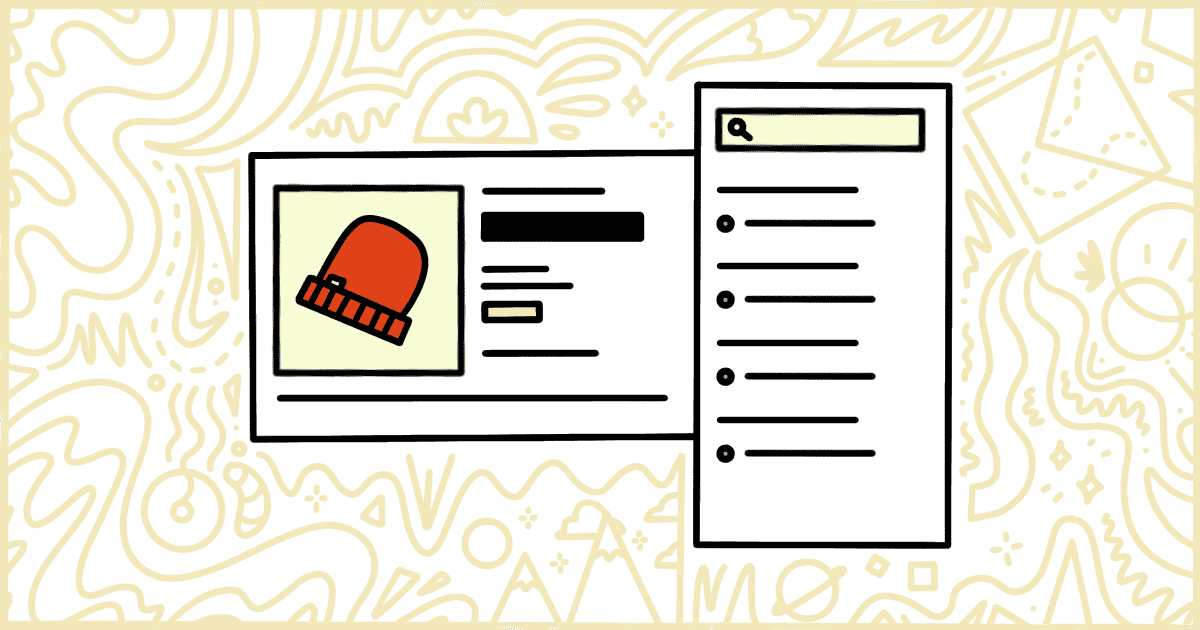
One place you will commonly find sidebars on WooCommerce sites is on individual product pages. These sidebars contain common elements like:
- Search Forms
- A List of Recent Posts
- Categories & Tags
- Quick Access to Post Archives

A lot of those elements, as you can probably tell, have more to do with standard blogs than an actual online store.
Unfortunately, there’s no way to remove these sidebars from your product pages from within the WooCommerce infrastructure. We’ll walk you through all of the steps to deal with this safely. It’s going to involve getting your hands a bit dirty.
How to Hide a WooCommerce Sidebar with Code
The developers of WooCommerce have made it possible to remove their sidebars with a bit of code. Unfortunately, to do this the right way requires a bit of setup on your part first.
Warning! Please make a complete and total backup of your WordPress installation before getting started. This is a good thing to do regularly already but it’s imperative now. If the steps you take in the rest of this article don’t work for you, and damage your store, you will want a clean backup to restore from.
Create a Child Theme
The first step in this process to remove a WooCommerce sidebar is to make a child theme. A child theme, in short, is a way for WordPress users to modify another theme (called the parent) in a safe way.
When a theme receives an update any changes made to it are lost. This is why it’s not a good idea to edit a theme’s file directly. What a child theme does to help avoid this problem is to load the parent theme’s file first. Then it loads its own files and applies its own code last. Any code or changes to the child theme are never lost when the parent theme is updated.
You can learn how to make your own simple child theme at the official WordPress site. The process isn’t complicated and when you are done come back to this article and head on to the next step: writing some code.
Add Code to the Child Theme
The commonplace to put WordPress theme changes and code is in a file called functions.php. Create that file in your child theme’s folder, if it doesn’t exist already, and open it up in a text editor. Now you can just copy and paste this snippet of code into the file:
add_action('wp', 'my_remove_sidebar');
public function my_remove_sidebar() {
    if (is_product()) {
        remove_action('woocommerce_sidebar', 'woocommerce_get_sidebar', 10);
        remove_action('storefront_sidebar', 'storefront_get_sidebar', 10);
    }
}
This code should work on any well-written WooCommerce theme as well as the official Storefront theme. Please keep in mind this is a universal change that will apply to every product on your site. There is code you can write to make this more deliberate but it’s outside of the scope of this tutorial.
Save the functions.php file and get ready to learn how to upload and turn the theme on your WordPress site.
Upload the Child Theme
With your code changes in place, it’s time to get the child theme up on your server. First, compress your child theme’s folder into a .zip file. Next, you want to head to the Appearance section of the WordPress admin’s menu and click on the Themes option. You’ll see a button at the top of the page that says “Add New.” Click that, then the “Upload Theme” button, and follow the steps to complete the upload process.
If you are computer savvy you can upload your child theme right to the server yourself. Using any standard FTP program makes this pretty straightforward. We recommend you ask your hosting provider for support or consult their documentation, for help.
Activate the Child Theme
Finally, this is the last step. Go back to the Themes screen. You should see your child theme on the list of options. If not, go back and try the upload again. When you do see it there will be a button that says “Activate.” Clicking that will turn your child theme on.
If you did everything right (the theme creation, the code, and then the upload) the sidebars should be gone immediately. If they still appear, or your site is experiencing issues, turn the theme off. Go back into your code and see what went wrong. Make changes and then upload it and try again.
Eventually, you will get the result you want.