How to Remove WooCommerce Sale Labels
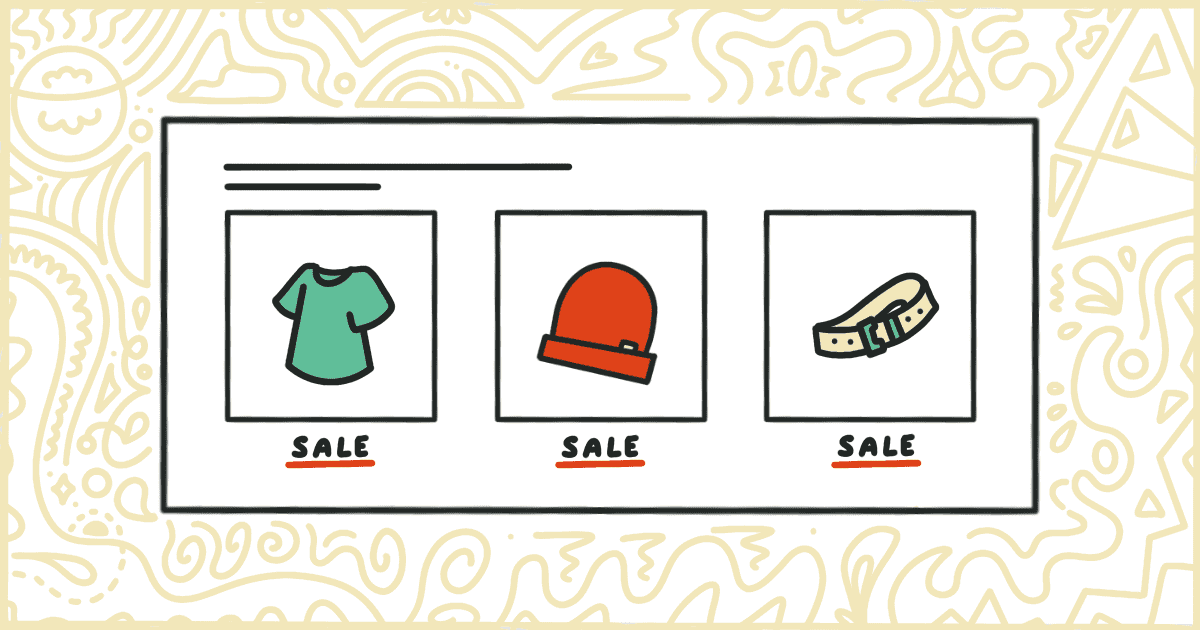
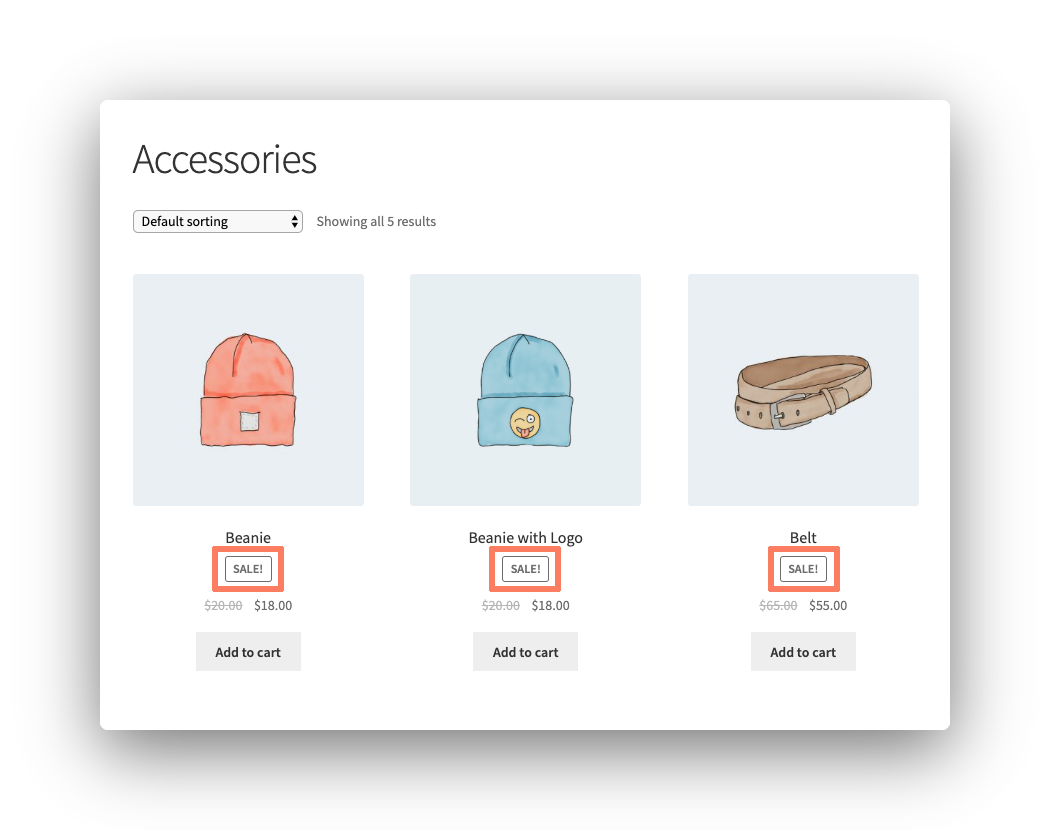
WooCommerce wants your customers to be as well informed as possible about any kind of sales or deals you are running on your products. To accomplish this, sales labels go next to products throughout your store whenever you have price discounts in effect.
Is this something you don’t want to be displayed in your store? You aren’t totally out of luck. While you can’t remove sale labels directly inside the WooCommerce administrative interface there are some other options available to you get disable these from your products.
The hardest, and most time-consuming, way to remove sale labels from WooCommerce is to make some changes directly to your store’s WordPress theme. We’ll walk you through the steps to do that in this article.
How to Hide WooCommerce Sale Labels with Code
We’re going to go through the process required to remove sale labels on your own. This is going to involve some minor web development. In the end, you might learn some new skills to help you work on your WooCommerce store even more in the future.
Warning! Make a full and complete backup of your site before proceeding. You are about to make your own WordPress theme, write some code, and upload it to a server. A working and reliable backup is a must in case you make a mistake. Full backups include core WordPress files, plugins, your theme, and uploaded media. A full copy of the database is required as well. You can find a company offering WordPress maintenance packages to handle this for you if doing it on your own isn’t an option.
Make a Child Theme
In WordPress terms, a child theme loads another template and then adds changes to it as a second step. This is a system devised by the WordPress developer community to help prevent people from ruining their sites with changes. When a WordPress theme receives an update all changes to it are lost or overwritten. By using a child theme, you prevent this data loss because the parent theme’s update doesn’t impact its child.
You can learn more about child themes and how to make one at the official WordPress site. When you have one ready it’s time to move on to the next step: adding code.
Add Code to the Child Theme
The common location to put theme code is in a file called functions.php. Create one in the main folder of your child theme, if it doesn’t exist already, and then open it up in a text editor. Add the following lines of code:
add_action('wp', 'my_remove_sale_labels');
public function my_remove_sale_labels() {
    remove_action('woocommerce_before_shop_loop_item_title', 'woocommerce_show_product_loop_sale_flash', 10);
    remove_action('woocommerce_before_single_product_summary', 'woocommerce_show_product_sale_flash', 10);
    remove_action('woocommerce_after_shop_loop_item_title', 'woocommerce_show_product_loop_sale_flash', 6);
}
Please keep in mind this is going to remove the sale labels from all products on your site. It doesn’t give you product-by-product control. You also won’t be able to use this code snippet to remove labels from entire product categories. This is a global setting that will apply to all products you have stored in WooCommerce.
Save the functions.php file when you are done. It’s time to move on to the next step.
Upload the Child Theme
It is time to get it on your finished child theme on your WordPress site’s server. The first step you need to take is to compress the file into the .zip format. The .zip file is what you will be uploading via the WordPress admin. Find the Themes section, under the Appearance section of the admin menu, and located the “Add New” button at the top. The next thing you need to do is press the “Upload Button” and follow the steps.
Another option is to upload the raw files to your child theme directly to the server using FTP. This is for more advanced individuals. Your web hosting provider should have documentation or a FAQ with instructions.
Activate the Child Theme
The child theme will appear as an option on the Themes screen of the WordPress admin now. Press the “Activate” button next to your child theme. If all has gone well, your sales labels will be gone from your site immediately.
If the sales labels persist, or you are having issues with site performance or availability, you need to take a look again at your child theme. Check your code for errors and make any changes. Upload the child theme and activate it again. Eventually, through trial and error, you will get the result you want.