
How to Remove WooCommerce Product Tags
One of the big upsides WooCommerce offers over its competitors is that it can take advantage of the features found in WordPress. Taxonomy, or tags, is one such feature that WooCommerce uses for its product to help with organization. Store owners use tags to better categorize and organize their products both in the admin and on their store’s theme. Of course, not every WooCommerce user wants their product tags shown to customers. Unfortunately, in order to remove WooCommerce product tags, you’re going to have to modify your site in some way. WooCommerce does not have a default means of disabling product tags on your theme.
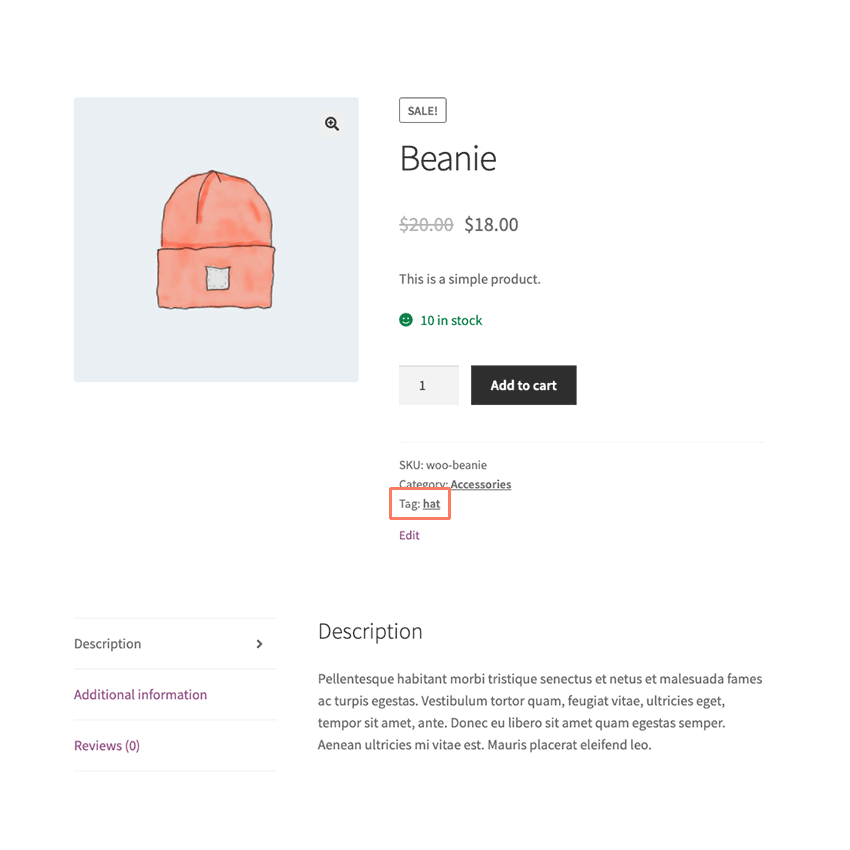
First, why would anyone want to remove product tags from their site? Well, many WooCommerce site operators use product tags internally. Maybe they mark certain products with particular tags based on sales volume or how troublesome they are to ship. There are multiple ways to use tags and, unfortunately, you might not always want those tags to be viewable by the public. In that situation, hiding WooCommerce product tags from customers is a great option. The tags can continue to serve a purpose to the site owner and staff while being removed from a customer’s eye while they are shopping.
Let’s go through what you have to do to hide WooCommerce product tags on your site.
How to Hide WooCommerce Product Tags with Code
Our first approach to solving this issue is with custom code. When you do this properly you will see immediate results on your site. The product tags will be gone. Unfortunately, getting to that point can be quite challenging for non-technical people. There are easier ways to do this with code but we prefer this approach because it has a better chance of lasting over time. Many techniques you find on other sites are temporary, at best, and require monitoring in case your work is lost in a theme or other update.
With that out of the way, it’s almost time to get going. But first, we recommend you make a full and total backup of your site before moving on. Backups should include your core WordPress installation, plugins, your theme, media uploads, and the site’s database. There are plenty of great plugins that can do this for you. It’s also not a bad idea, just in general, to consider WordPress maintenance as a regular activity. For those without the time, finding a good company offering WordPress maintenance packages can be a life-saver.
Create a Child Theme
We are going to take advantage of WordPress and its child theme system. A child theme is basically a WordPress theme that uses another theme (called the parent) as a base. The parent theme does most of the work and the child theme just injects its own code or templates in when necessary. This is the safest way to modify a WordPress site’s layout.
A child theme is safe because it can not be changed or impacted by a theme update. Your parent theme is going to see regular updates over the lifetime of your site. Each update replaces and overwrites the files that make up the theme. If you were to modify the parent theme with your own code those changes would be erased during the next update. A child theme, which is where we will be adding our code, isn’t impacted by a parent theme update. Your code changes will live on forever no matter what happens to the parent theme.
There are a ton of tutorials online that can teach you how to create a WordPress child theme. Find one that fits you and follow the process. Once you are done, it’s time to move on to the next step and actually add some code to your new child theme.
Add Code to the Child Theme
A child theme, every WordPress theme actually, has a file called style.css inside of it. This is where you put CSS markup which is what controls the visual aspect of your site. Find the style.css file in your child theme and open it up in a text editor. You can use something as simple as Notepad, on a Windows computer, for this. You don’t need anything fancy.
Add the following line of code to your style.css file:
.single-product div.product .product_meta .tagged_as { display: none !important; }One thing to understand is that this line of code is a global change. Every product on your site is going to have the tags removed with this CSS markup. It’s much more complicated, and beyond the scope of this tutorial, to explain how to remove WooCommerce product tags from individual products or categories on a site. Our plugin, which we’ll discuss soon, can handle that for you though.
Upload the Child Theme
We’re almost to the last step. You want to compress your child theme’s folder into a .zip file. This is a requirement by WordPress for the upload process. With that done, it’s now time to get your new child theme uploaded to your WordPress installation. The easiest way to do this is via the WordPress admin. Log in with your administrator account and find the Themes link under the Appearance section of the menu. You’ll be able to upload your theme to the site this way. Simply follow the buttons and prompts to upload your child theme’s file.
As an alternative, for the most tech-savvy, you can upload the child theme folder directly to the server with an FTP program. There’s no need to compress the theme into a .zip file with this method. Most quality web hosts will have documentation or support staff that can help you get FTP set up. You’ll need a special login and an FTP program. Ultimately, once you connect, you need to upload the child theme folder to the wp-content/themes folder on your server.
Activate the Child Theme
We’ve made it to the last step.
Now, with your child theme uploaded, you need to turn it on. WordPress refers to this as activation. Once again, head to the Themes area of the Appearance menu in the WordPress admin. You should see your child theme amongst the list of themes installed on your site. If you do not, there was a problem with the upload process. Repeat the steps above until you successfully upload the child theme and see it on the list.
Click the button to activate your child theme. Immediately, without any more work on your part, the product tags should vanish from your site’s front end. If the tags still appear, you have made a mistake with your CSS code. Unfortunately, you’ll have to find the mistake and fix it. And then repeat the entire process again to upload and activate the correct version of your child theme.
Eventually, you will get it to work. Congratulations! You now know more about how WordPress and WooCommrece work than you probably ever wanted.