
How to Remove WooCommerce Product Image Zoom
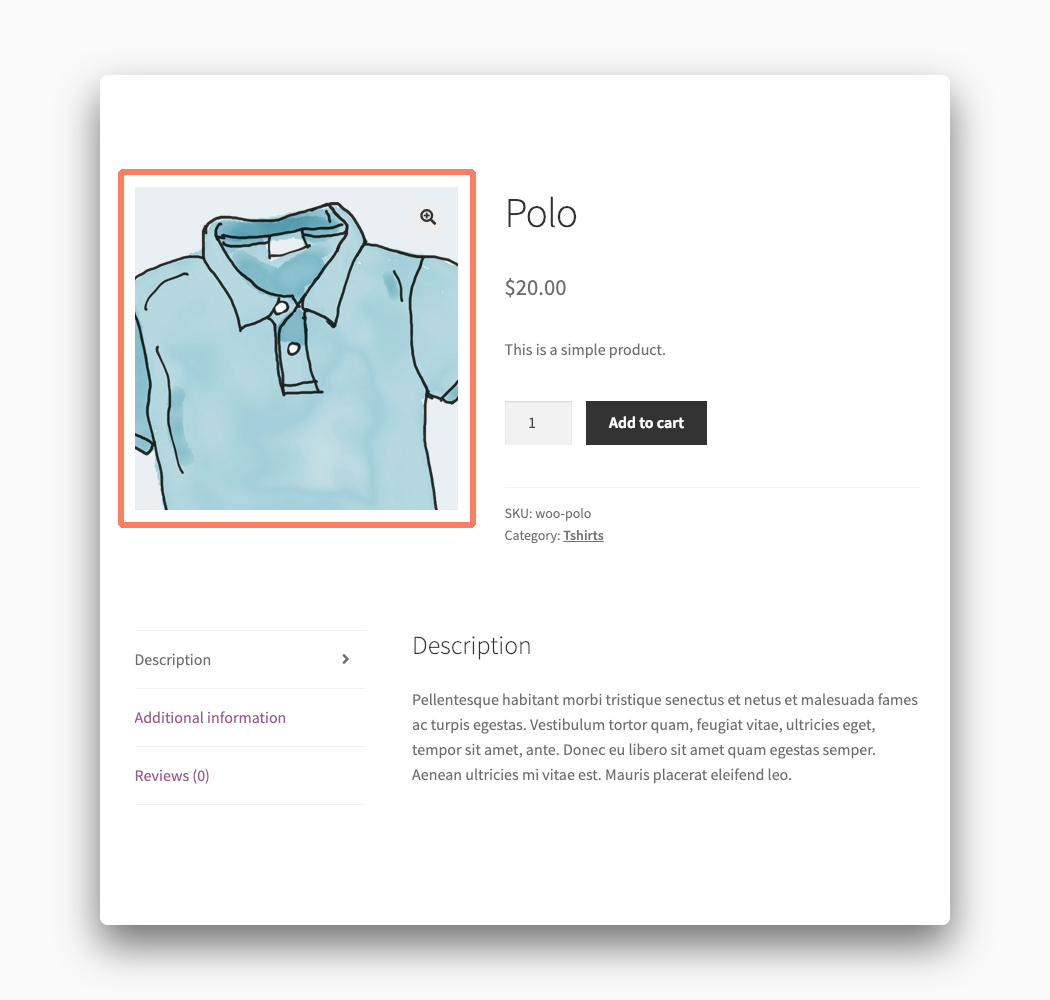
One of the more dynamic interface features of WooCommerce is the ability to zoom in on a product image by simply hovering over it with your mouse. You can find similar design choices on a lot of the most popular online retailers from huge giants like Amazon to smaller shops selling a wide variety of products.
The zoom feature for product images is nice but not necessarily something that is right for all kinds of stores or items. For instance, not all products really require users to have the ability to see uptight and close.
It’s also possible that the zoom effect provided by WooCommerce could cause conflicts with other parts of your WordPress theme or plugins that you have installed.
You can remove the WooCommerce product image zoom from throughout your site on your own with some code changes. We’ll walk you through all of the steps involved.
How to Hide WooCommerce Product Image Zoom with Code
WooCommerce requires a few lines of code to hide the zoom feature from your product images. We’ll show you the right way to do it so you make sure your site doesn’t break in the process.
Warning! Please make a full and complete backup of your WordPress installation before proceeding. If you make a tragic mistake and ruin your store, you are going to want a clean and safe backup to restore from in order to get your site back online.
Create a Child Theme
WordPress discourages site owners from making edits directly to their themes. The main reason for this is that any changes you make are likely to be lost the next time your theme receives an update. Thankfully, the developers of WordPress have come up with something called “child themes” to solve this issue. A child theme will load the files of another theme, called the parent, and then load its own files second. This means any code in the child theme will always stay safe and never be lost when a parent theme is changed.
We recommend you check out the child theme tutorial from the folks over at Smashing Magazine. When you’ve completed that it’s time to head on to the next part of this process.
Insert Code in the Child Theme
With your child theme made it is now time to add some code to it. Create a file called functions.php, if it doesn’t already exist, in the root of your child theme’s folder. Open functions.php up in any text editor and then add this code:
add_action( 'wp', 'my_remove_zoom', 99 );
function my_remove_zoom() {
    remove_theme_support( 'wc-product-gallery-zoom' );
}
This section of code will remove the image zoom from every product in your store. There will be no exception as this is a global setting. You can control whether or not it removes it from individual products, or categories, with some additional programming. We aren’t going to cover how to do that in this tutorial but searching the WooCommerce documentation can help.
Save the functions.php file when you are sure you have copied that code snippet correctly.
Now it’s time to get your child theme on your site’s server.
Upload the Child Theme
The easiest way to get your child theme on your site is through the WordPress admin. Access the Themes section of the Appearance menu and you can upload the theme from there. Make sure you have compressed the child theme’s folder into a .zip file first as that is the format required to do the upload.
Another option, if you’re feeling brave, is to upload your child theme straight to the server via FTP. Download an FTP program to your computer, check out FTP login instructions provided by your web host, and upload the child theme folder right to your WordPress installation. Most high-quality hosting providers will provide thorough documentation for you if this is the upload method you wish to use.
Activate the Child Theme
You should now be able to head back to the Themes area of the WordPress admin and see your child theme. If that’s not the case, and your theme does not show up, then you need to try and upload it again. Eventually, when the upload is done correctly, you should see your theme appear with a button to activate it.
When you have activated your child theme the product image zoom should no longer work on your WooCommerce store. If the zoom still happens or, even worse, the entire site is broken, deactivate the theme and look at your code for any issues.