How to Remove WooCommerce CSS
WooCommerce comes with a lot of custom styling that integrates with your WordPress theme automatically. Since every WordPress theme isn’t developed with WooCommerce support the intention here is to get you up and running, regardless of your theme choice, as quickly as possible.
This is great for the “do it yourself” store owners who just want to get to the business of selling products quickly and aren’t interested or too concerned with how their sites appear.
If you want some more control over your store, or are using a totally original WordPress theme built from scratch, the default WooCommerce CSS might be something you want to remove from your site. We’re going to go over the best way to do this, safely, if you want to write your own coded solution.
How to Hide WooCommerce CSS with Code
You can turn off WooCommerce CSS with a tiny bit of code. Unfortunately, getting this code into your WordPress theme can be a bit tricky. There are some steps you need to follow in order to do this safely. We’ll walk you through the process in the rest of this post.
Warning! Please make a full and complete backup of your WordPress installation first. In case you make a mistake or damage your site you will need a backup to restore from. It’s a good practice to regularly make backups but it is especially important before you make code changes.
Create a Child Theme
When you make code changes to a theme you run the risk of those changes being lost. When your theme receives an update the files you adjusted will be overwritten and your changes will be lost. To avoid these situations WordPress has a system in place. You can create a child theme, which loads after your main theme, for all of your code changes. When your main, or parent, theme updates the code in your child theme will stay safe.
Smashing Magazine has a very popular tutorial on creating a child theme that you can follow. When you have that done it’s time to move on to the next step.
Insert Code into the Child Theme
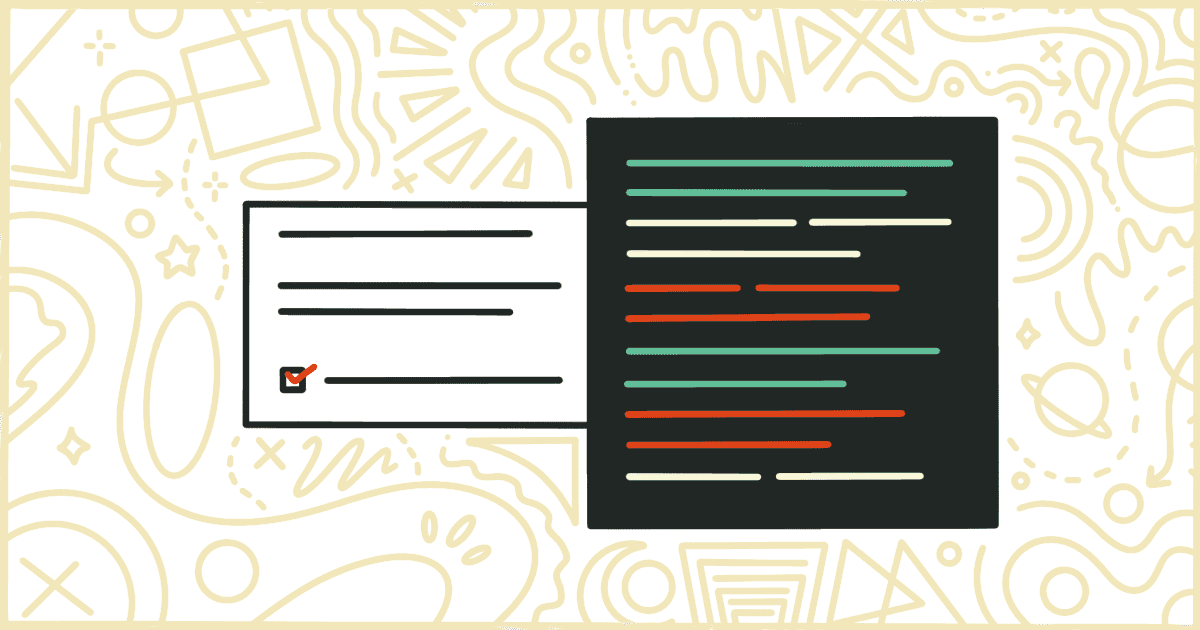
Once your child theme is made it’s time to actually add the code for removing WooCommerce CSS. This code snippet is small, just a one-liner, but you need to put it in the right place. Create a file inside of your child theme called functions.php, open it in a text editor, and add this single line:
add_filter( 'woocommerce_enqueue_styles', '__return_empty_array' );That’s all you need. Save the file and we’re ready to get this child theme on your site’s server.
Upload the Child Theme
Your child theme is ready. Now it is time to upload it to your WordPress installation. There are two ways to handle this. The first is to upload the child theme directly inside of the WordPress admin. Compress your child theme files into a .zip file and then head to the Appearance section of the admin. You’ll find a sub-section for Themes there which is the place you go to upload the theme.
Your other option is to upload the theme, uncompressed, via FTP straight to the server. There are dozens of FTP applications you can use to do this. It’s a more technical way, and your hosting provider should offer documentation to help, but it’s certainly not the right way for everyone.
Activate the Child Theme
It’s time for the final part of this process. Head back to the Themes section of the WordPress admin. You should see your child theme among the list of choices. If you don’t that means there was a problem with the upload and you’ll need to try that again.
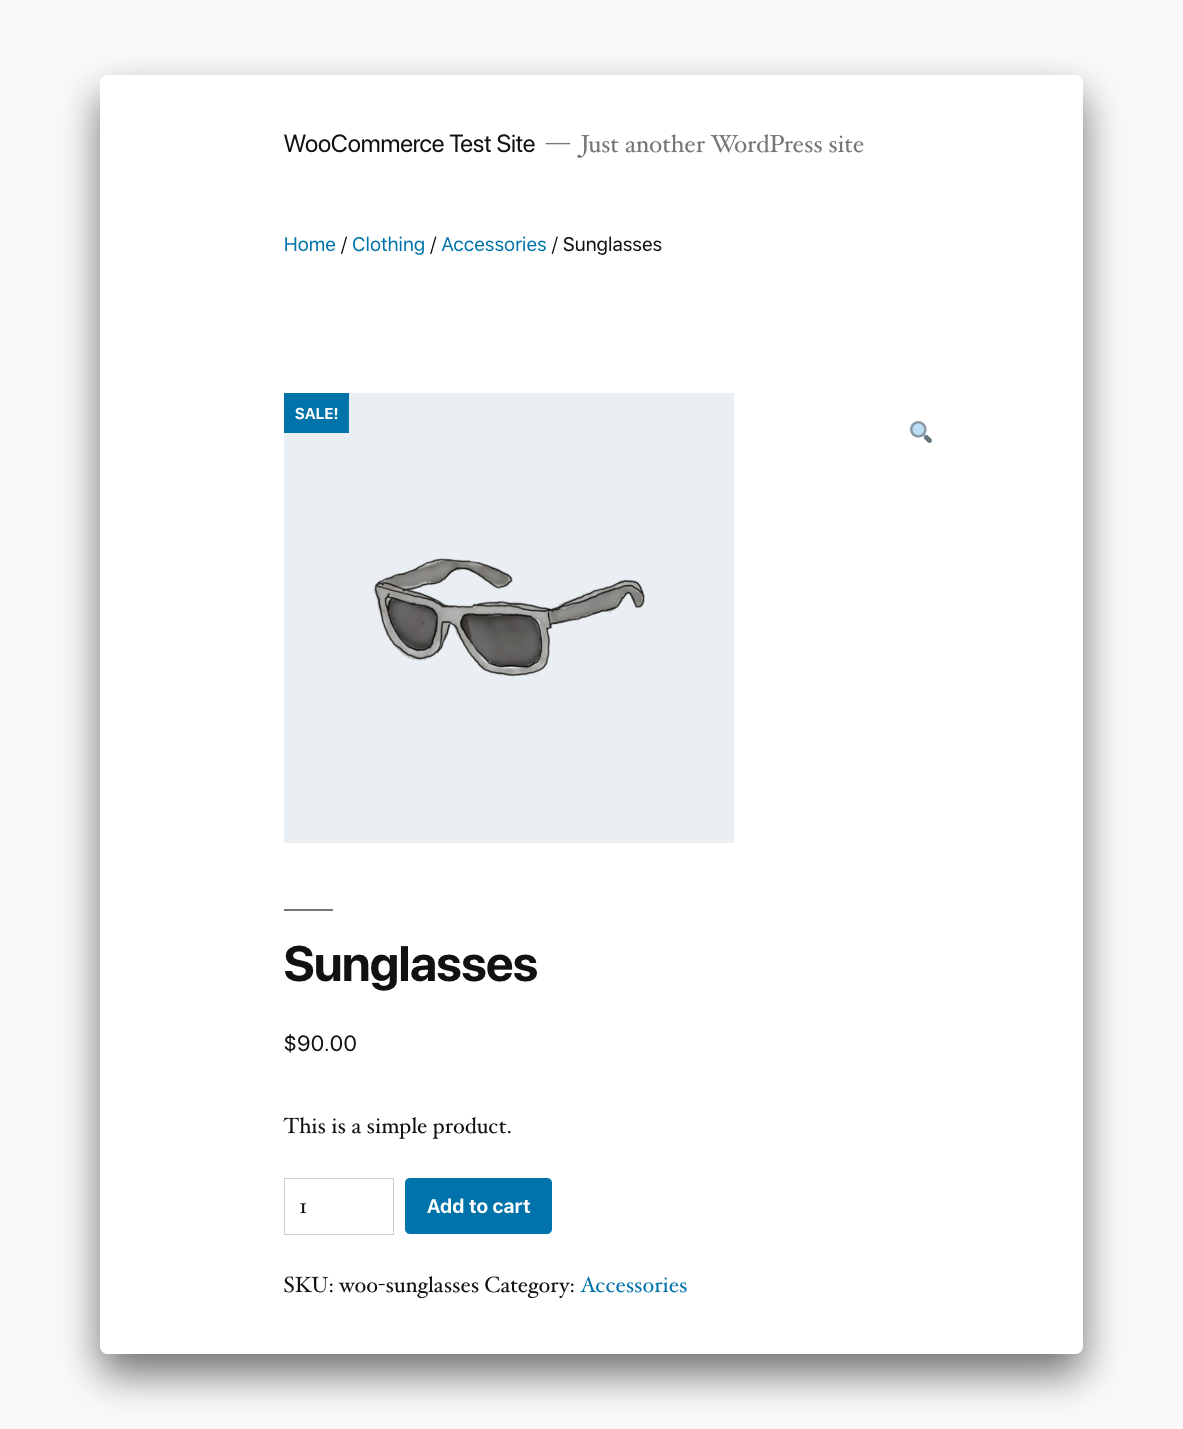
Activate the theme and you should immediately see an impact on your WooCommerce store. All of the CSS generated by WooCommerce should be gone assuming the code was added to the child theme correctly. Deactivate the child theme if you still see the WooCommerce CSS or your site is experiencing bigger problems. Check the code and start again with the upload and activation of the theme.
You’ve made it to the end and you probably learned a lot more about WordPress than you ever wanted.