How to Remove WooCommerce Coupon Code Fields
WooCommerce has the ability to let you set up coupon codes to offer to your customers that give them discounts on their purchases. You can actually disable these site-wide by going into the “Settings” options of your WooCommerce installation and browsing to the “General” tab to find the coupon options.

All you have to do is uncheck the “Enabled the use of coupons” box and your entire site will remove the coupon code fields. It’s just that easy.
But what if you want to let customers use coupons but you want greater control over where they can be applied. By default, WooCommerce will give your users the option to apply coupon codes when they are viewing their carts and when they are completing the checkout process.
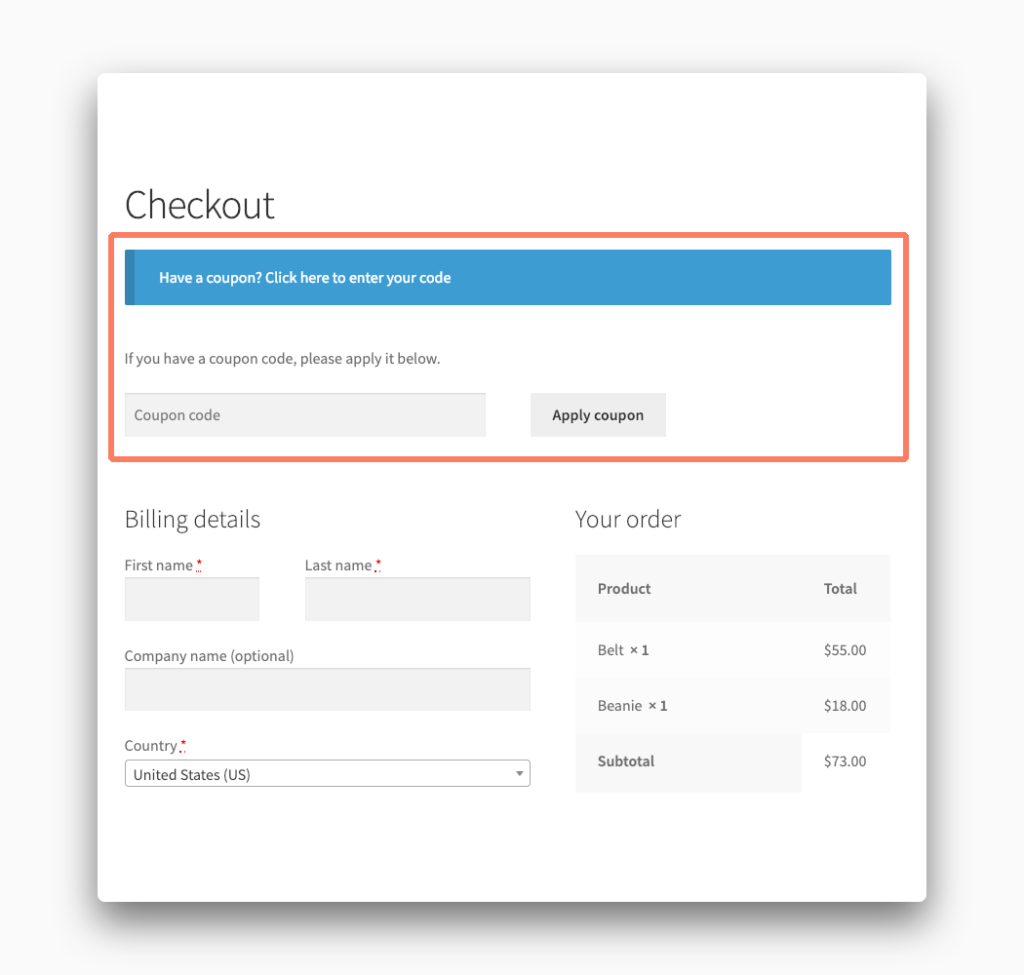
You can remove the coupon code field from the cart or checkout screen with some small pieces of code. We’ll walk you through a safe way to do that on your own in this article.
How to Hide WooCommerce Coupon Code Fields with Code
You can remove the coupon code fields from any store yourself with a few lines of code. We’ll walk you through what is required to do this now. You’ll need to be familiar with some low-level web development concepts.
Warning! Please make a full and complete backup of your WordPress installation before attempting this. We’re going to be adding code to your site that might negatively impact its performance if done incorrectly. A proper backup will let you restore your site back to its previous working state in case of an emergency.
Create a Child Theme
The best way to modify any pre-existing WordPress theme is to create a child theme. You can learn about how to make a child theme on the official WordPress site. In short, a child theme pre-loads another theme’s content and then puts its own content on top. This means any code you add to a child theme is not lost the next time the top level, or parent theme is updated.
Insert Code into the Child Theme
When your child theme is created and ready to go it is time to add some code to it. You’ll need to add this code to a file called functions.php in your child theme directory. Create that file if it doesn’t exist already. When it’s made you need to open it up in a text editor and add the following code.
Here’s the snippet to remove WooCommerce coupon code fields from your cart template:
add_filter('woocommerce_coupons_enabled', 'my_remove_coupon_code_field_cart', 10);
function my_remove_coupon_code_field_cart($enabled) {
    if (is_cart()) {
        $enabled = false;
    }

    return $enabled;
}
The code to remove this field from the checkout is slightly different:
add_action('init', 'my_remove_coupon_code_field_checkout');
function my_remove_coupon_code_field_checkout() {
    remove_action('woocommerce_before_checkout_form', 'woocommerce_checkout_coupon_form', 10);
}
Save the functions.php when you have added the above code you need. Now it is time to move on to the next step.
Upload the Child Theme
When your child theme has the code you need it is time to get it on your server. You can upload a child theme in two ways. The easiest is to open up your WordPress admin and find the Themes section under the Appearance menu option. Package your child theme into a compressed .zip file and upload it to the server via the admin.
The other choice is to use something called FTP. There are dozens of FTP applications you can download and install on your computer. Your hosting provider should have documentation available on the steps you need to connect to the server. From there, you can upload the child theme directory and be ready to go. Most quality web hosts provide tutorials on how to do this all correctly.
Activate the Child Theme
We’re at the last step. Once you have uploaded the child theme head back to the Themes portion of the WordPress admin. If all has gone well you should see your child theme among the list of installed themes. You’ll have to re-upload the theme if it does appear as if something went wrong for you during that process.
When you activate the child theme you should see the results of your effort immediately. The coupon code fields should be removed entirely from your store. If they are still showing or the site is broken in some way deactivate the child theme and re-check the code and child theme.
Eventually, through trial and error, if you experience problems, you should have successfully removed the fields.