How to Remove the WooCommerce Cart Widget
Many WooCommerce themes like to make accessing the shopping cart as simple as possible. This means adding links in menus and sidebars automatically. Another common way to give customers access to the cart is through a simple widget. WooCommerce comes with a cart widget that developers can add to themes. Of course, not everyone wants this widget so we’re going to discuss how you can remove the WooCommerce cart widget from your store.
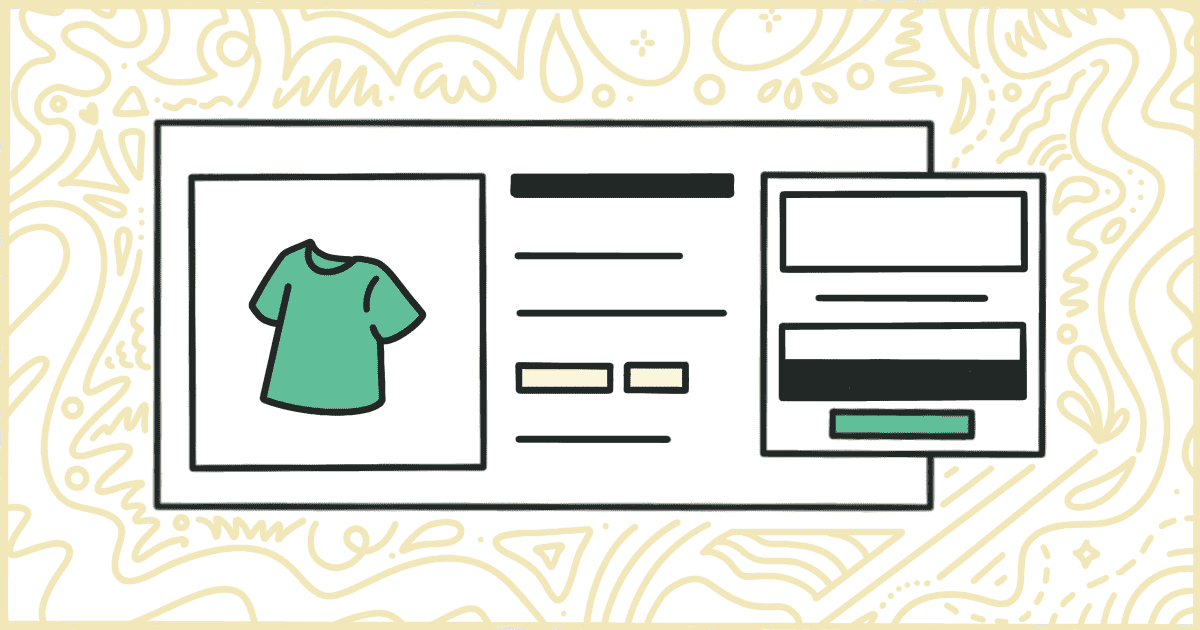
For reference, the WooCommerce cart widget typically looks something like this:
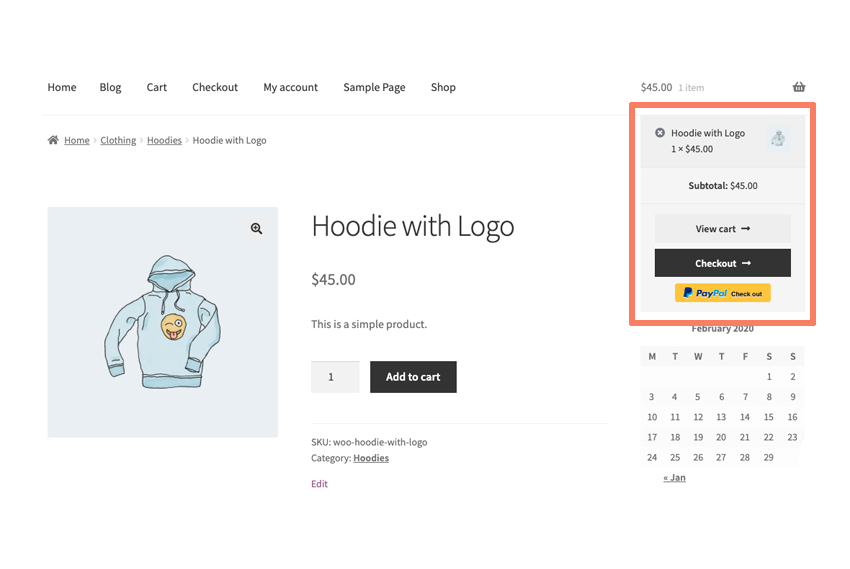
As you can see, the cart widget usually pops down from a menu item. Not everyone likes that kind of interface design though. It’s especially annoying if your store has an otherwise clean and simple design aesthetic.
There’s no clear and obvious way to hide a WooCommerce cart widget from a theme. You have to rely on the theme developer themselves to give you the option in a setting. WooCommerce itself will have no way inside of the admin to turn it off. So let’s discuss how you can remove this widget on your own. We’ll go through the best way to do this with some code.
How to Hide the WooCommerce Cart Widget with Code
You can add some code to your WooCommerce site that can hide the cart widget. There’s always a chance you can ruin parts of your site when you add custom code to it. We’re going to go through the safest way to do this so it’s important you follow each step closely.
Warning! We advise anyone who is about to modify a WordPress site to make backups first. Make a complete backup (database, theme, plugins, and uploads) to be safe. If something goes wrong you will be able to use that complete backup to restore your site to a working state again. High-quality and verified backups are the best way to avoid a disaster.
Create a Child Theme
The first step is to make a WordPress child theme. Adding code directly to a WordPress theme is always a terrible plan. The problem with directly modifying a theme is that your changes aren’t guaranteed to last. The next time your theme receives an update any files you modify will be overwritten and the changes lost.
That is why WordPress built the child theme system. In short, a WordPress child theme loads another theme (called the parent) and then adds its own code on top of that. So, even if the parent theme receives an update, the child theme’s files remain untouched and still execute.
Making a WordPress child theme is pretty simple. We won’t go over the specifics in this post to save time but you can find plenty of tutorials and tools online that can make one for you.
Insert Code into the Child Theme
Every WordPress theme, whether it be a parent or child, has a file called functions.php in it. This is where we are going to add our code to remove the WooCommerce cart widget. If, by chance, your child theme doesn’t have a functions.php file then make it now. Open the file in a text editor and add the following:
add_filter('woocommerce_widget_cart_is_hidden', 'remove_my_cart_widget');

public function rwf_cart_widget() {
    return __return_true();
}
That’s all you need to add. Save the functions.php file when you are sure everything is in there correctly. Now it’s come to package up your child theme, upload it to your site, and turn it on.
Upload the Child Theme
Now it’s time to get your child theme, with its remove cart widget code, onto your website’s server. First, you need to compress the child theme folder into a .zip file. When that is done you will need to login to your WordPress admin. After you have logged in, head to the Appearances area of the admin menu and click on the Themes link. You’ll be able to upload your theme here. The process is simple and only takes a few seconds.
Some people prefer to handle this by uploading their themes with an FTP program. You don’t .zip the child theme up in this instance. You simply download an FTP program, add your login credentials for the server, then upload the entire child theme folder to the wp/content/themes directory. If you need help with FTP, your hosting provider is the best place to learn more.
Activate the Child Theme
The final step! Once you have uploaded your child theme, it’s time to turn it on. This is called “activation” in WordPress terminology. Once again, head to the Themes part of the WordPress admin. If your theme is successfully uploaded it should appear on this screen. If you don’t see it, try the upload again. Eventually, you’ll get it right. Click on the activation button next to your child theme to turn it on.
The WooCommerce cart widget should be removed from your site now. If the widget still appears, that means there is an issue with your code. Go back and look at your child theme’s functions.php file again to see if what is wrong. When you have fixed the file you will have to upload and activate the child theme again.
Congratulations! You’ve successfully built a WordPress child theme, added some custom code, uploaded the theme, and then activated it on your site.