How to Remove WooCommerce Cart Product Images
One of the most popular requests when it comes to editing a WooCommerce site’s appearance is to make changes to the cart template. Out of the box, a WooCommerce cart layout has some places that could use some improvement.
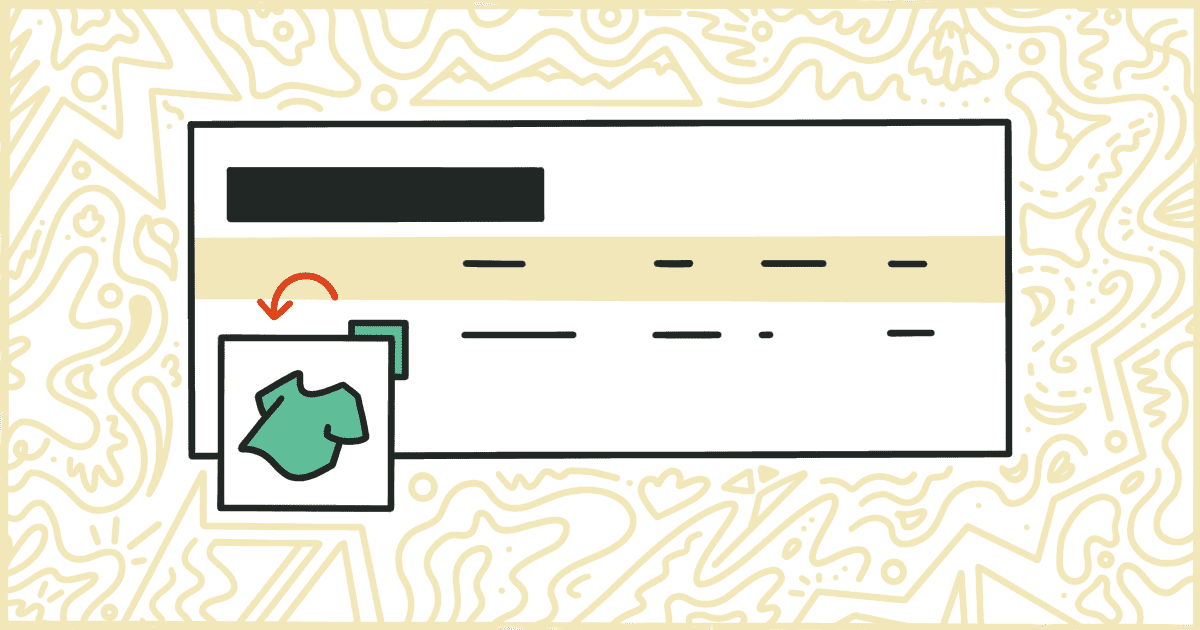
By default, WooCommerce will show tiny image thumbnails of every product your customers have added to their cart. This can be useful on sites that, for instance, are selling physical goods so that your buyers can get a quick visual reference for what they are about to check out. On the other hand, if you use WooCommerce to sell digital products or something else that doesn’t require a visual reminder like this you might want to have the product images removed from the cart entirely.

You can remove these product images from your WooCommerce cart yourself. It takes a bit of code writing to modify your theme and we’ll walk you through the steps in the rest of this post.
How to Hide WooCommerce Cart Product Images with Code
Getting rid of product images on a WooCommerce cart can be accomplished with just a few lines of code. Unfortunately, doing this safely and without ruining your online store requires you to follow some specific steps. We’ll go through those steps now.
Warning! Please make a complete backup of your WordPress installation before proceeding. Your backup should include your theme and the site database. This is good, standard practice anyway but it is especially important if you are about to start playing around with code changes to your site on your own.
Create a Child Theme
The first step is to create a child theme for your site. In WordPress terms, a child theme will load your current, or parent theme, first and then apply changes to it. This system was created by the developers of WordPress to help avoid a common problem where users make changes to their site and then a future theme update replaces all of those changes. With a child theme, your changes are contained within the child theme itself and any updates the parent theme receives will not erase your hard work.
You can find a lot of tutorials online on how to specifically create a child theme. We recommend you check out this child theme creation tutorial from the people at Smashing Magazine. When you have gone through that walkthrough come back to this article to move on to the next step.
Insert Code into the Child Theme
Now that your child theme is created it is time to add some code to it. The most common place to add code to a WordPress theme is in a file called functions.php. Create that file in your child theme, if it doesn’t already exist, and then open it up in any standard text editor. Add the following lines of code to the file and then save it.
add_filter( 'woocommerce_cart_item_thumbnail', 'my_remove_cart_product_image', 10 );
function my_remove_cart_product_image() {
    return __return_false();
}
Keep in mind this is a global change. The cart product image will be removed from every product in your store. This code snippet doesn’t offer granular control so you can’t pick and choose which products, or categories, to remove the images from with this code.
Save your functions.php file when you’re done.
We’re at the halfway part. Now we need to take your child theme, upload it to your server, and activate it on your WooCommerce store.
Upload the Child Theme
The most common way to upload a new theme to WordPress is through the admin menu. Find the Appearances section of the menu and then go to the Themes area. You’ll find an “Add New” button at the top of this screen. Simply compress your child theme into a .zip file first and then follow the instructions to upload the theme to your site.
As an alternative, the more adventurous can upload their child theme directly to the server using FTP. Any standard FTP application you can find for your computer will do the trick. Your hosting provider should be able to provide you with detailed instructions to log in to your server and upload via FTP.
Activate the Child Theme
You’ve reached the final step in the process. After you have uploaded your child theme to the site it’s time to turn it on. Head back to the Appearance portion of the WordPress admin and go straight to Themes. You should see your child theme amongst the list of themes to choose from. If you do not see it then the upload process went wrong somehow. Go back and try again.
Eventually, when your child theme is uploaded properly, it will appear on the list with a button to activate it. Press that button will immediately switch your site over to your new child theme. If you wrote your code snippet correctly the product images on your cart template should no longer appear.
If you still see the product images or, even worse, your entire online store is broken then you need to turn off your child theme. Check your code to see if there is something wrong. When you find your mistake and correct it you’ll need to upload the theme once more and activate it again.
Congratulations if you made it this far and managed to remove the images yourself.