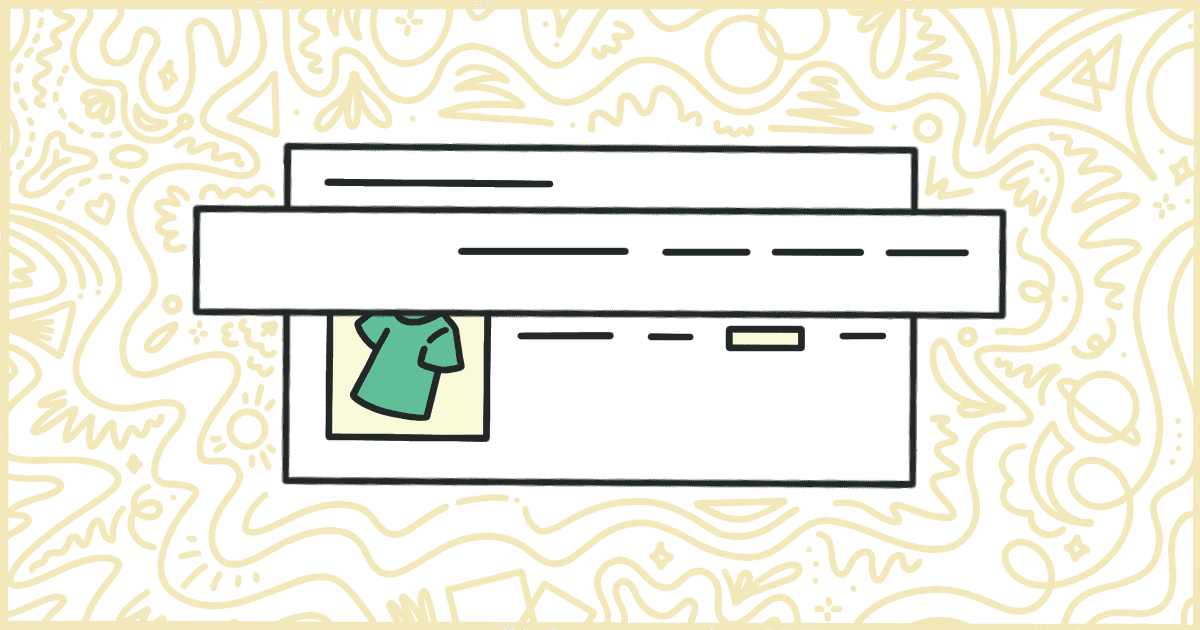
How to Remove WooCommerce Cart Columns
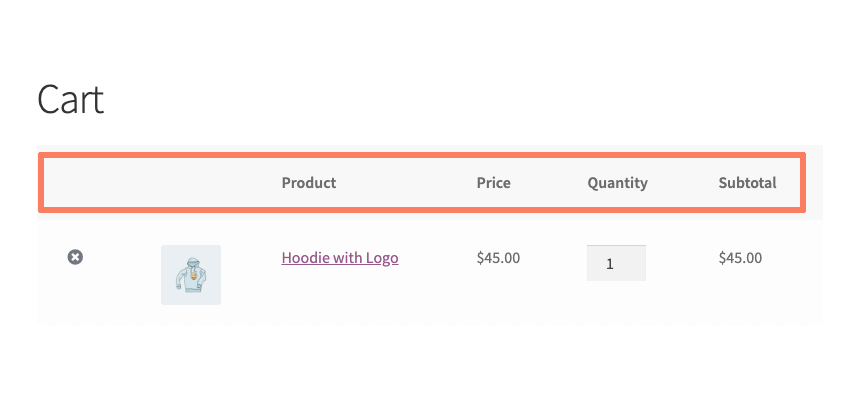
Almost every WooCommerce template has the same table layout for carts. The columns are broken down into the following:
- Remove
- Thumbnail
- Product
- Price
- Quantity
- Subtotal
For a default theme, such as Storefront, that table layout typically looks something like this when all columns are visible (we’ve highlighted the columns in question):
Of course, you might not always want to have those columns appear on your cart. This can especially be true if you don’t want people to order multiple items at once, or be able to remove items from the cart, for two examples.
You can remove cart columns from your theme on your own. You’ll need to learn a bit about how WordPress themes work. Plus, there is a little bit of code writing involved. We’ll walk you through the process in this post.
How to Hide WooCommerce Cart Columns with Code
The code to remove WooCommerce cart columns is actually some of the more complicated we discuss on this site. It takes a bit of reading and trial-and-error sometimes to get this to work right so have patience.
Alert! There is a right way and a definite wrong way to edit a WordPress theme. Please make a complete and total backup of your WordPress installation before proceeding. In the event that something goes wrong, you are going to want a working backup to restore from to get your store back online. It’s good practice to regularly backup your site anyway. Consider paying a company that offers WordPress maintenance packages to handle this for you.
Create a Child Theme
It’s not a good idea to modify your WordPress theme files directly. Any changes or adjustments you make to the code of a theme will be lost the next time it receives an update. Luckily, there is a solution for this. You need to create what is called a child theme.
In short, a child theme will pre-load files from another theme (called the parent) before it loads its own files. With this set up you can add code to your child theme that impacts the parent safely. When the parent theme receives an update, the child theme is untouched and all of your code remains intact.
Making a child theme isn’t too tricky. You can put one together in a few minutes using this tutorial on child themes from Smashing Magazine. When you’re ready, come back here and move on to the next step.
Add Code to the Child Theme
Now that your child theme is made you are ready to add some code to it. It’s common to put CSS markup code in a file called style.css. Create that file, if it doesn’t exist already, and then open it up in any text editor you have handy on your computer.
Add the following lines of code to your style.css file:
.woocommerce table.cart th.product-remove, .woocommerce table.cart td.product-remove{ display: none !important; }
.woocommerce table.cart th.product-thumbnail, .woocommerce table.cart td.product-thumbnail{ display: none !important; }
.woocommerce table.cart th.product-name, .woocommerce table.cart td.product-name { display: none !important; }
.woocommerce table.cart th.product-price, .woocommerce table.cart td.product-price { display: none !important; }
.woocommerce table.cart th.product-quantity, .woocommerce table.cart td.product-quantity { display: none !important; }
.woocommerce table.cart th.product-subtotal, .woocommerce table.cart td.product-subtotal { display: none !important; }
This collection of code is a little more complicated if you are unfamiliar with CSS. WooCommerce doesn’t have any built-in way in its codebase to remove cart columns. So the fix here is to basically hide the columns themselves before they are displayed to your visitors. We do that using some custom CSS which, in nerd talk, is a way to describe how elements of a web page look.
The code above will remove the following columns. Pick and choose what you want to remove and then delete the other parts of the code for the columns you want to keep:
- Delete Column: Line 1
- Thumbnail Column: Line 2
- Product Column: Line 3
- Price Column: Line 4
- Quantity Column: Line 5
- Subtotal Column: Line 6
Save the style.css file when the code is set the way you want. It’s time to package up your child theme and get it on your live site.
Upload the Child Theme
You’re ready to get this child theme on your site’s server. First, compress the entire child theme folder into a .zip file. Then you need to log in to the WordPress admin. Find the Themes section of the admin, from the Appearance menu, and look for a button that says “Add New” at the top. That button takes you to another screen with another button that says “Upload Theme.” Click that button and follow the upload instructions.
Alternatively, if you are tech-savvy, you can upload your theme straight to the server using FTP. We recommend you check out your hosting provider’s documentation, or support system, for specific instructions on how to upload your child theme this way.
Activate the Child Theme
You’re almost done. Now that your child theme has been uploaded you need to activate it or turn it on. Go back to the Themes area of the WordPress admin. You should see your child theme among the list of choices. If you don’t then you need to try the upload process again.
When it appears, there will be an “Activate” button next to your theme. Press that button to turn your theme on. The next time you load your site the cart columns you wanted to be removed should be gone. If they are still there, or your site is experiencing errors, turn the child theme off and check your code. If you make changes, remember you need to upload the child theme and activate it again.