How to Remove the WooCommerce Add to Cart Button
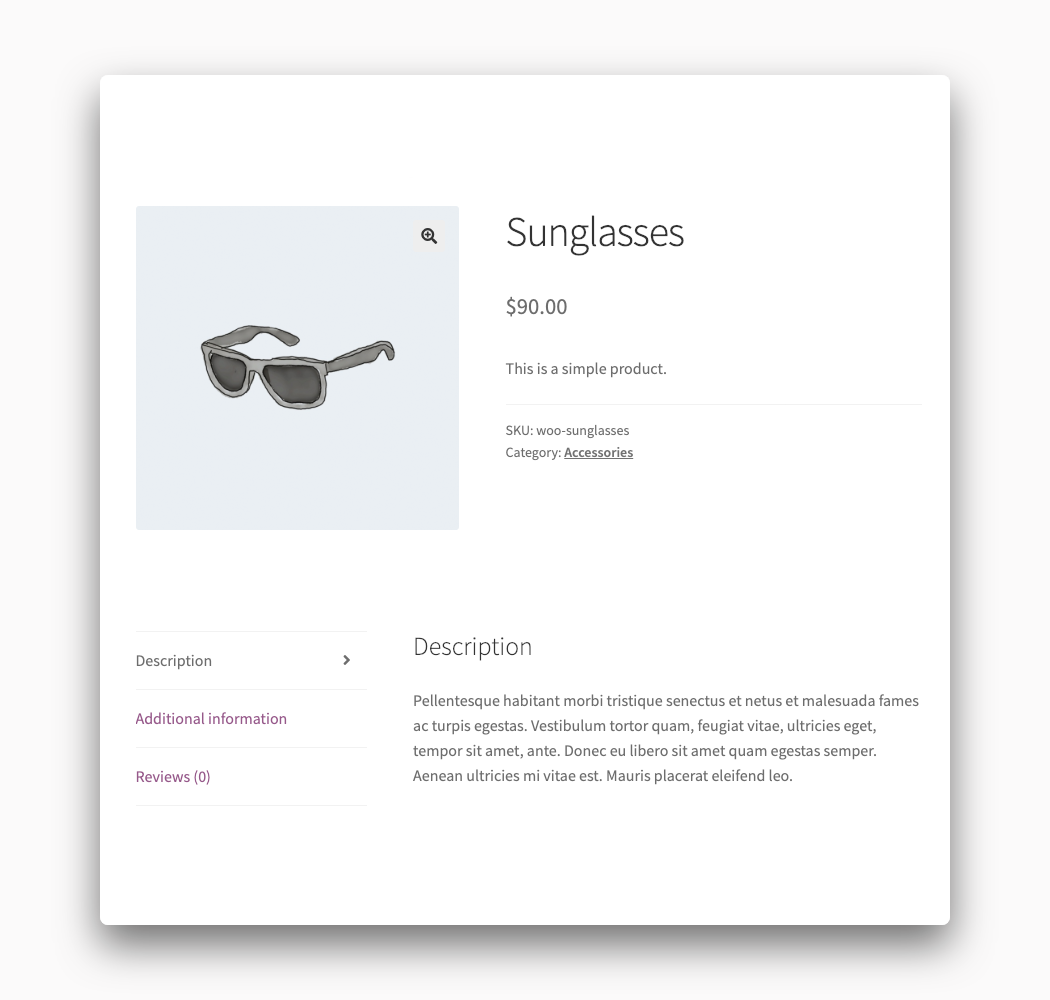
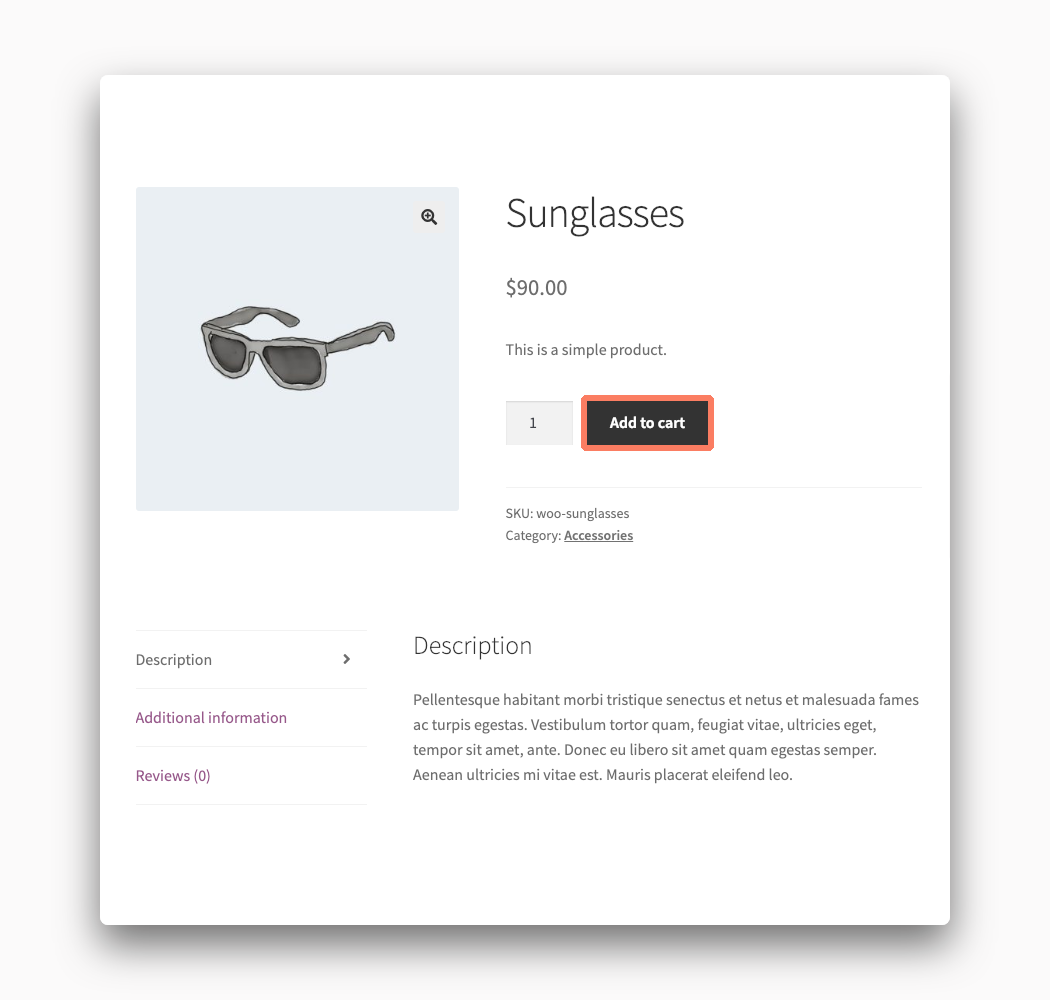
WooCommerce, by default, places simple “Add to Cart” buttons on the category and product pages of your site. There is no way within the admin interface to remove the WooCommerce add to cart button. So if you want to prevent your items from being purchased you are going to have a hard time coming up with an easy solution.
Thankfully, it is possible to remove all of the “Add to Cart” buttons on your site to temporarily stop your visitors from being able to buy anything on your WooCommerce store.
You can go out onto the Internet and find a WooCommerce developer or WordPress theme designer to go into your store’s file and remove the add to cart button with some custom code. We’ll show you the steps to do it yourself.
How to Hide the WooCommerce Add to Cart Button with Code
We’re going to show you the process of actually writing code that edits the functionality of your WooCommerce store. By the end of this process, you will have successfully modified your site’s theme.
Warning! Before you get started please make a complete backup of your WooCommerce store. If things go wrong, and you run into trouble, you’ll want to have a good backup to restore from. This process of adding code to your site can sometimes go sideways so having a rescue plan in place is important.
Make a Child Theme
It is almost always a bad idea to add new code or edit existing code inside of a WordPress theme you are using. The WordPress system offers a solution for this with child themes. You can create a child theme that essentially loads another theme’s files first and then applies its own changes on top of that. This way you don’t have to worry about your changes being erased the next time the parent theme gets an update. Check out this tutorial on creating a child theme from scratch before moving on to the next part.
Insert Code into the Child Theme
Now that your child theme has been made it is time to add some code to it. Every WordPress theme has a file in it called functions.php. This file is the most common place to add simple snippets of code. Create the functions.php file inside of your child theme directory and then open that file in a text editor. Insert the following lines of code and then make sure you save the file when you are done.
add_filter( 'woocommerce_is_purchasable', 'my_remove_add_to_cart_button', 10 );
function my_remove_add_to_cart_button() {
    return true;
}
It’s important to understand that this piece of code is a global change. Every add to cart button on your site will be removed regardless of the product or category. This piece of code does not offer finer control so you can’t dictate specific products or product categories to apply the change to.
Upload the Child Theme
It’s time to upload your child theme to your WooCommerce site. The simplest way to do this is directly inside the WordPress admin. Compress your child theme into a .zip file first. Next, go to the Appearance section of the WordPress admin and upload it through the Themes area.
Another option is to upload your child theme using FTP. There are dozens of FTP applications you can download and use to handle this. Your hosting provider should offer tutorials and instructions on how to successfully connect to your server.
Activate the Child Theme
It is now time to see if you did everything correctly. You should see your child theme under the Appearance section of the admin. If you do not then you need to try the upload one more time as something went wrong.
Activate your child theme on the list of options. When everything was done correctly the add to cart buttons on your WooCommerce store should have disappeared. If they are still there, or your entire site has crashed and burned, there was an issue with your code. Go back through and find out what is wrong and then upload the theme again.